For a number of years now the UK outdoor cooking scene has been looking on with jealous eyes, at a new wave of grills landing in gardens all over the US and beyond. A simple way of cooking outdoors, that is quick to be ready, and even quicker to clean up afterwards. Sounds like an alfresco cooking dream come true, but over here in the UK we had limited options, until now that is.
Flattop or plancha cooking, as it is known, has largely been reserved for commercial kitchens in the UK and in the main there has been very little, if any crossover, into the public outdoor cooking segment. Essentially, a plancha is a large metal hot plate often heated using gas and sometimes electric elements, they offer up a large cooking area with no risk of food slipping between grates, no super hot flame fuelled sections for food to stick to, but also gives options for dishes that simply wouldn’t work straight onto traditional BBQ grill bars. We looked on with envy as these home cooks in the US cracked eggs straight onto the grill, poured out pancake batter directly onto the cooking surface with no need for pans or accessories, cooked fajitas with all the elements on the same cook top with no cracks and gaps to lose those veggies through and so much more.
Then, in steps CookOutdoor with their high quality plancha grill, styled for home use and not like a bland traditional commercial unit. These aren’t mass produced and cheaply built units from the far East, they are solidly built units that are fabricated, assembled and tested in Barcelona by a company who have been around since 1967. And all of this at a good and competitive price point with a whole range of available accessories including carts, covers, lids and a whole host of utensils. So, is this unit the answer to all our flattop cooking prayers? We’ve run cooks through the CookOutdoor unit over the past few months and will let you know our thoughts below.
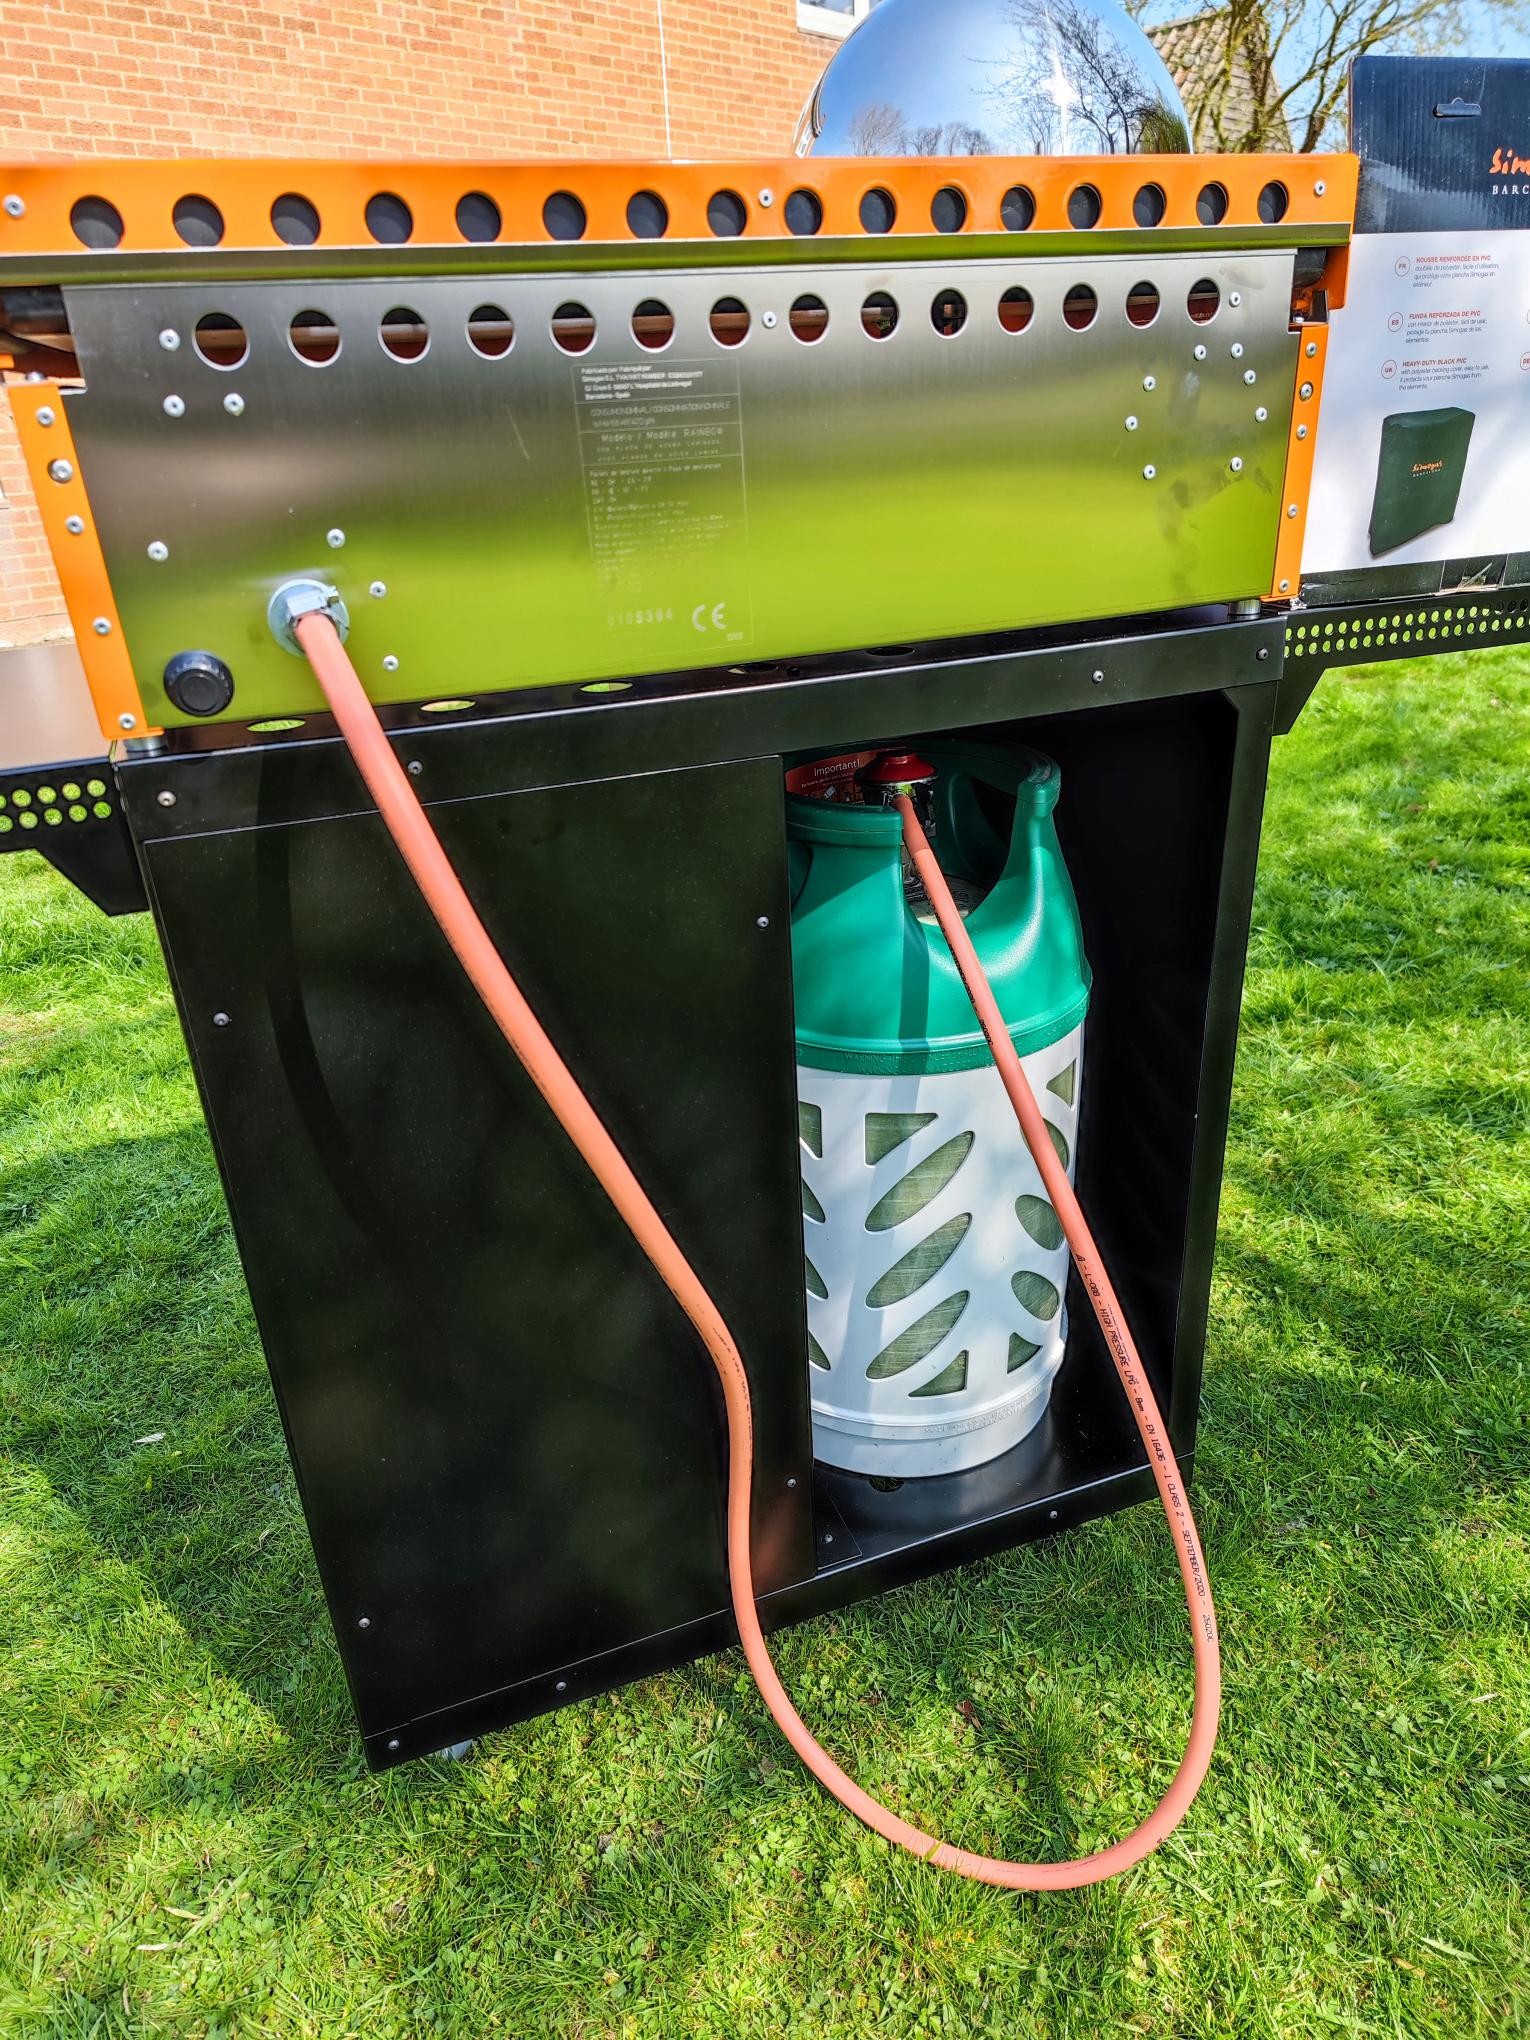
For this review we were sent pretty much the full package to use and put to the test, so first up you need to be aware that the £550 entry point price includes the plancha unit itself, an apron, short handled spatula, a hose tail for your gas pipe connection and an AA battery for the electric ignition. To get up and running with the plancha you will need to get your own gas bottle (with gas in of course), a gas connection kit or regulator which is available on the site for £20 and then you will be ready to roll. Everything else you see in the photos are optional extras the main two of which we want to point out, being the lid and the stand.
There are two colour options for the unit on offer from the CookOutdoor team and both look pretty slick. The first being ‘Anthracite’ which is dark grey colour, very low key and understated meaning the grill could sit tucked away nicely and not be noticed as much, although you will want people to see it, mainly because they are a very good-looking grill. Then out course there is the shouty, and more in your face colour option of ‘Orange’. Now anyone who knows me will obviously know this is the choice I would opt for. Matches my eyes (wink). It’s a nice shade of orange, not dayglo or too in your face, just enough to really let you know the unit is there, but whilst still giving the look of quality these units have. You can mix and match the colours if you wish and have the opposite colour lid for example, although not having seen this we have no idea what it would look like.
Out of the box, the actual plancha takes only a few minutes so assemble, and is easy to follow with the instruction leaflet provided. More information can also be found on the CookOutdoor site including some handy pictures to help guide you. You may need a hand to lift the unit as although it’s compact-ish in size, being made of heavy duty thick metals means it has some good weight to it. 31kg to be precise, and a good bulk of that comes from the thickness of the steel for the cooking surface itself. Screw on the gas hose and regulator, screw the battery for the starter in place and you are done.

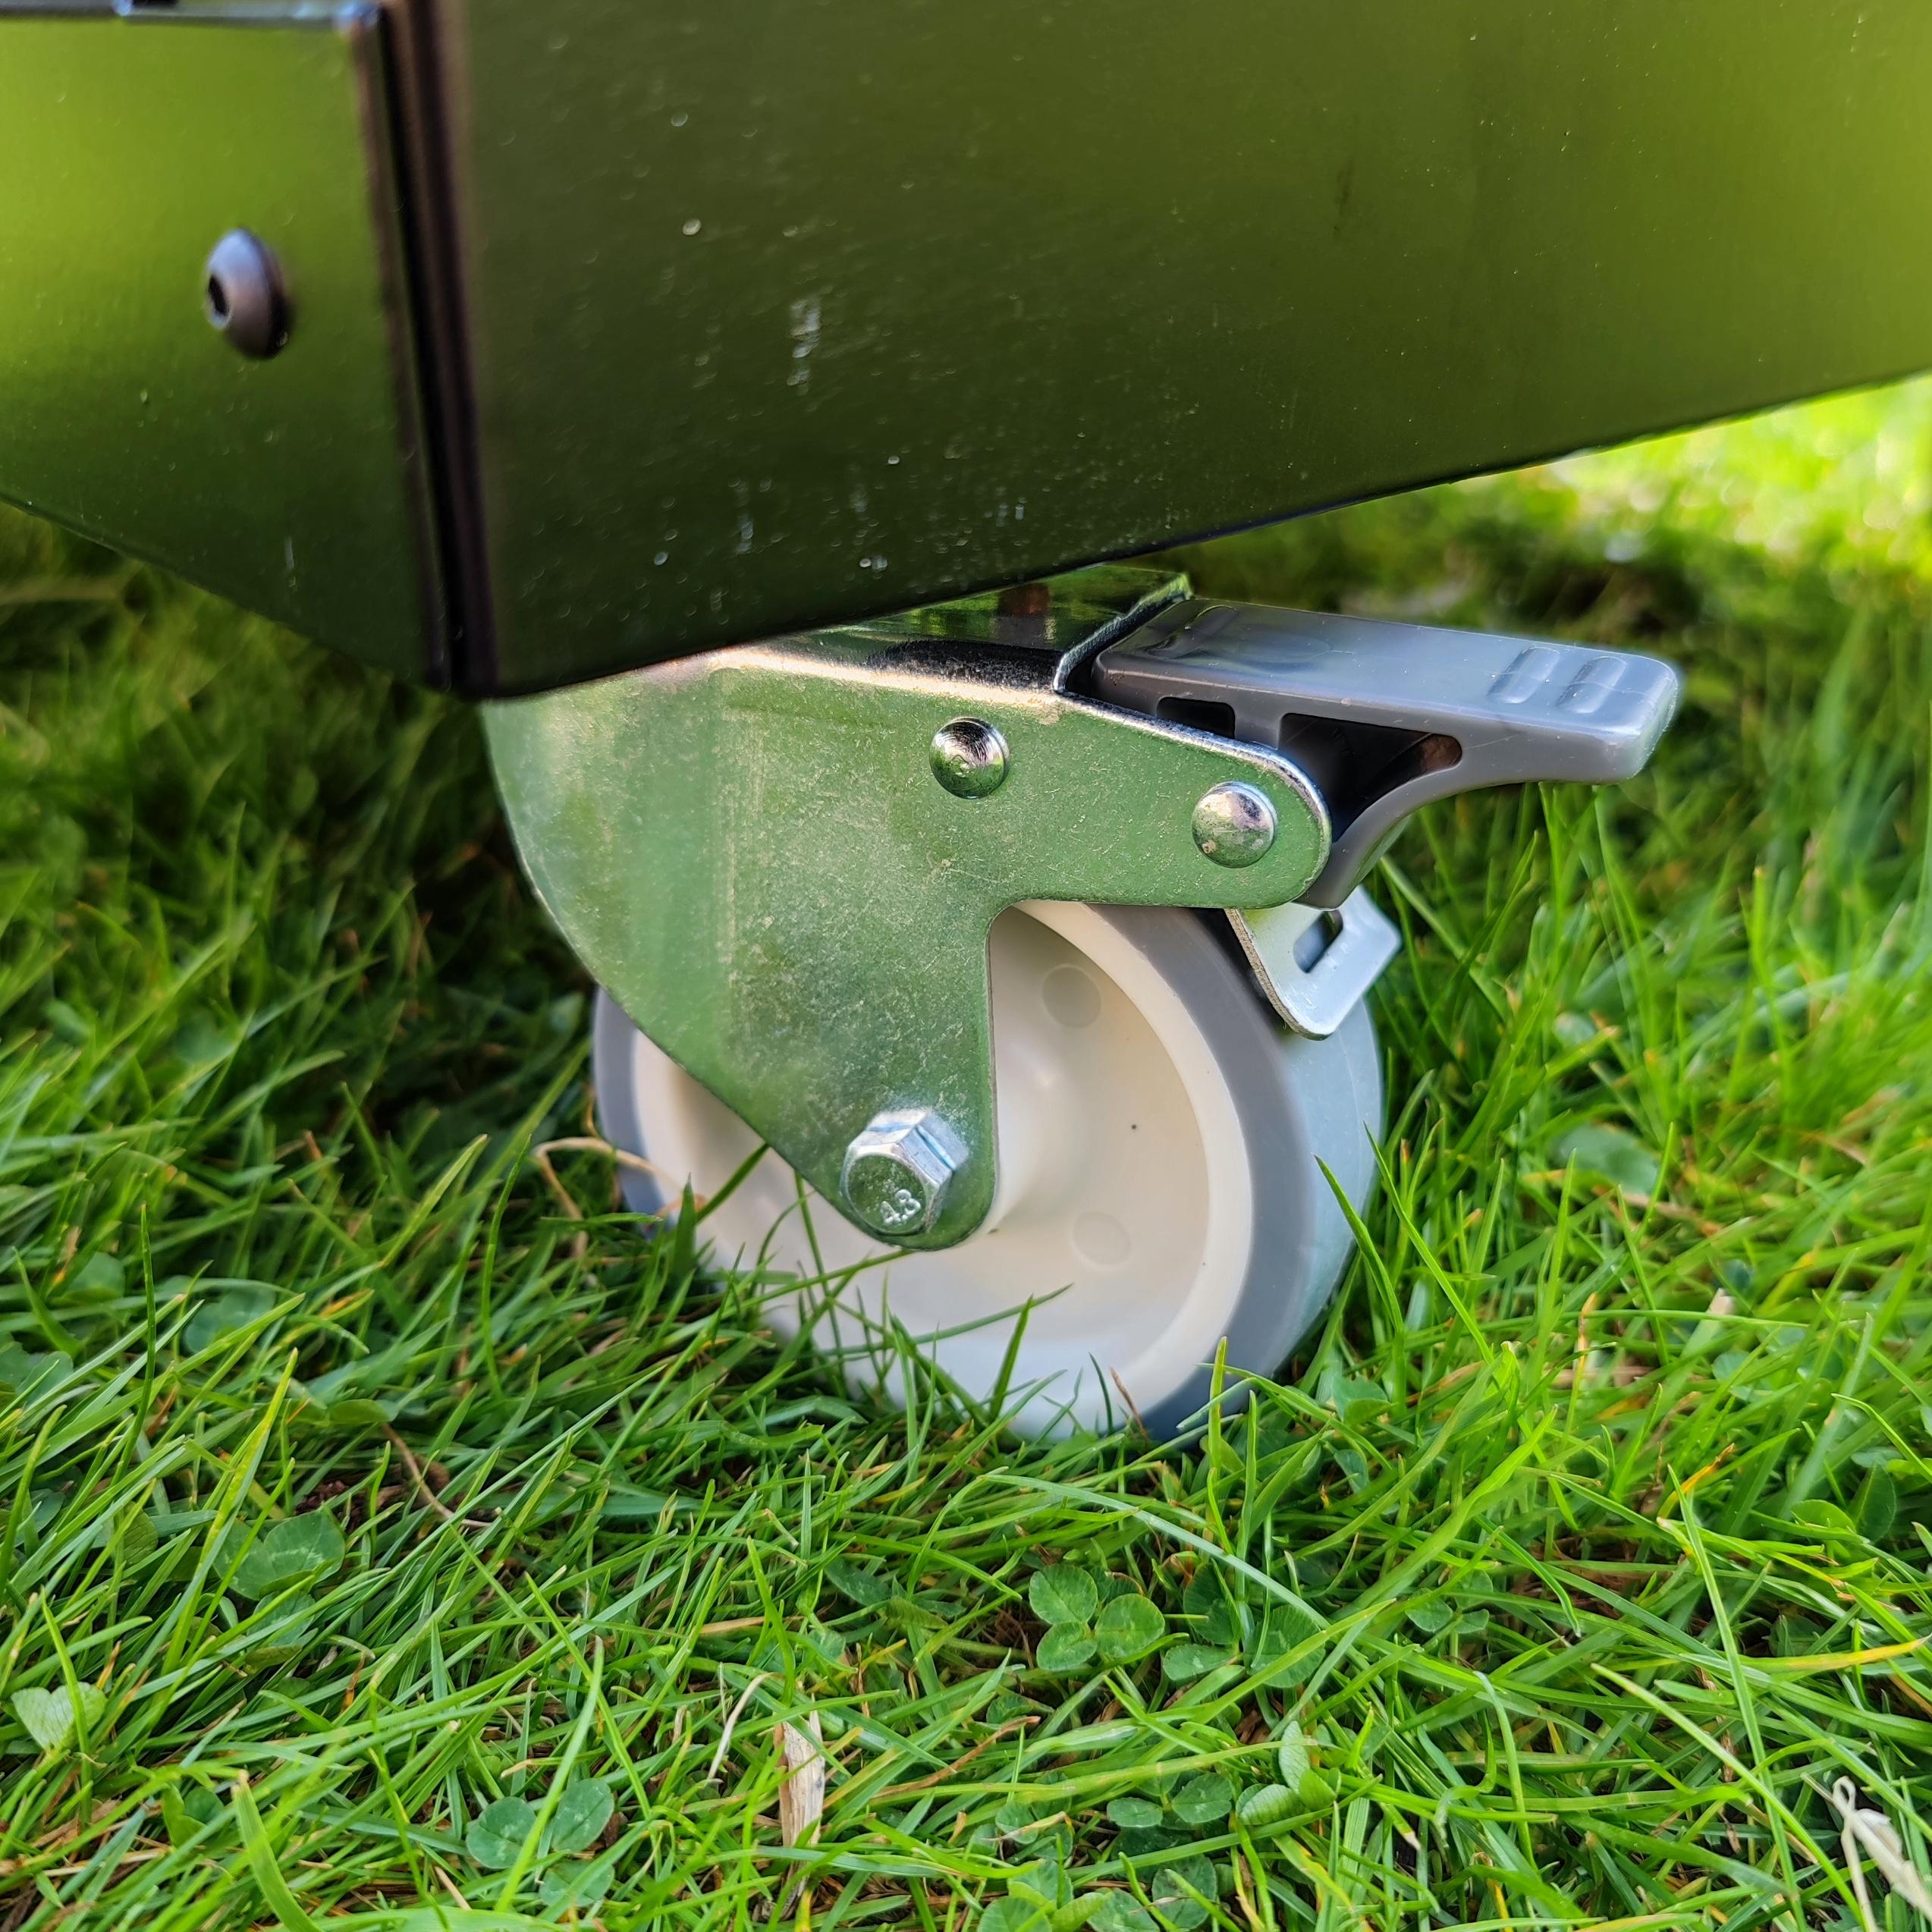
We spent a further 40 minutes or so constructing the cart we were also sent to sit the plancha on, it is relatively straightforward, but again a spare pair of hands to hold some sections in place as you work is handy, and then the very simple to install lid. Just make sure you remove the handle that is tucked on the inside for transit and needs to be moved to the outside. Now, we are not saying we missed this part to start with, but if you spot the mistake in the early cooks then you know how not to do it with your unit.
As with any new grill we really couldn’t wait to get cooking.
Hold down the dial and turn to maximum whist keeping it pressed in, leave it a few seconds for the gas to fill in, then click the very neat electric ignition button. Once the burner is fully alight, let go of the dial, set your temp and leave the plancha to heat up whilst you prep your cook. The warm up time on the unit is pretty short due to the high power of the burners, so within 5 minutes you’ll have some good heat into the cooking surface and be ready to start cooking. And the longer you leave the top to heat up the more even the heat becomes. Cleary there will be a few slightly hotter spots on the flattop where there is direct focus from the burners underneath, but the thick plancha does a great job of evening this out as time goes on, and any cooler areas on the grill you can use to move food around onto as it gets cooked. After a few cooks we really felt we had ‘learnt’ the grill and were able to get the best from it, and that’s quick as some grills really do take much longer to work out.
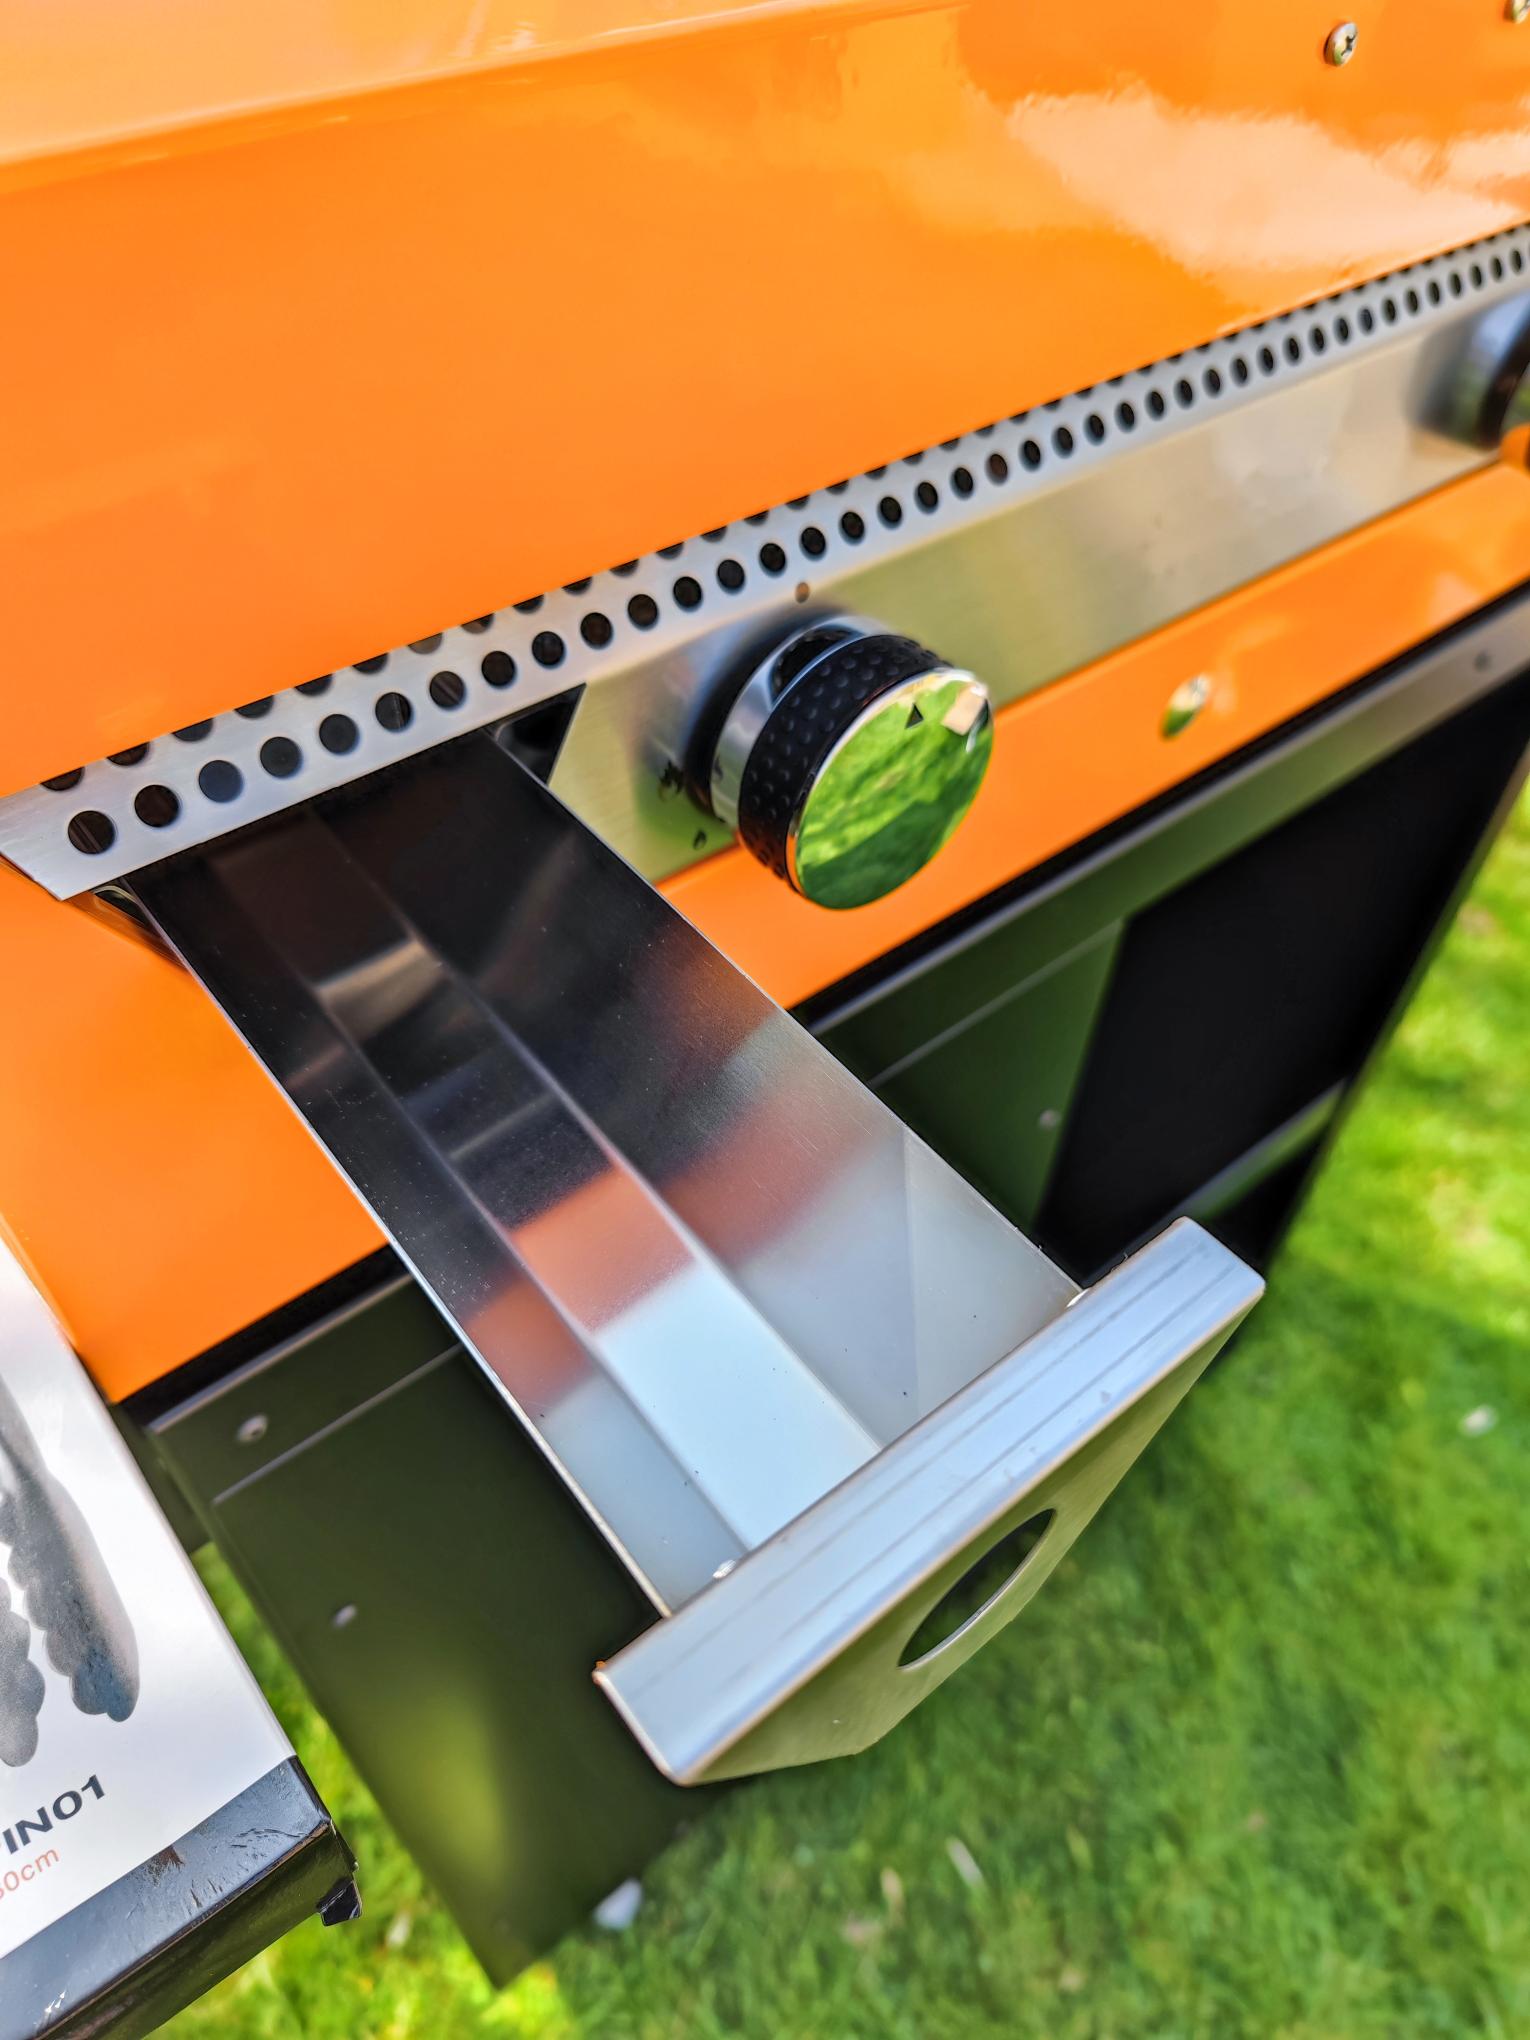
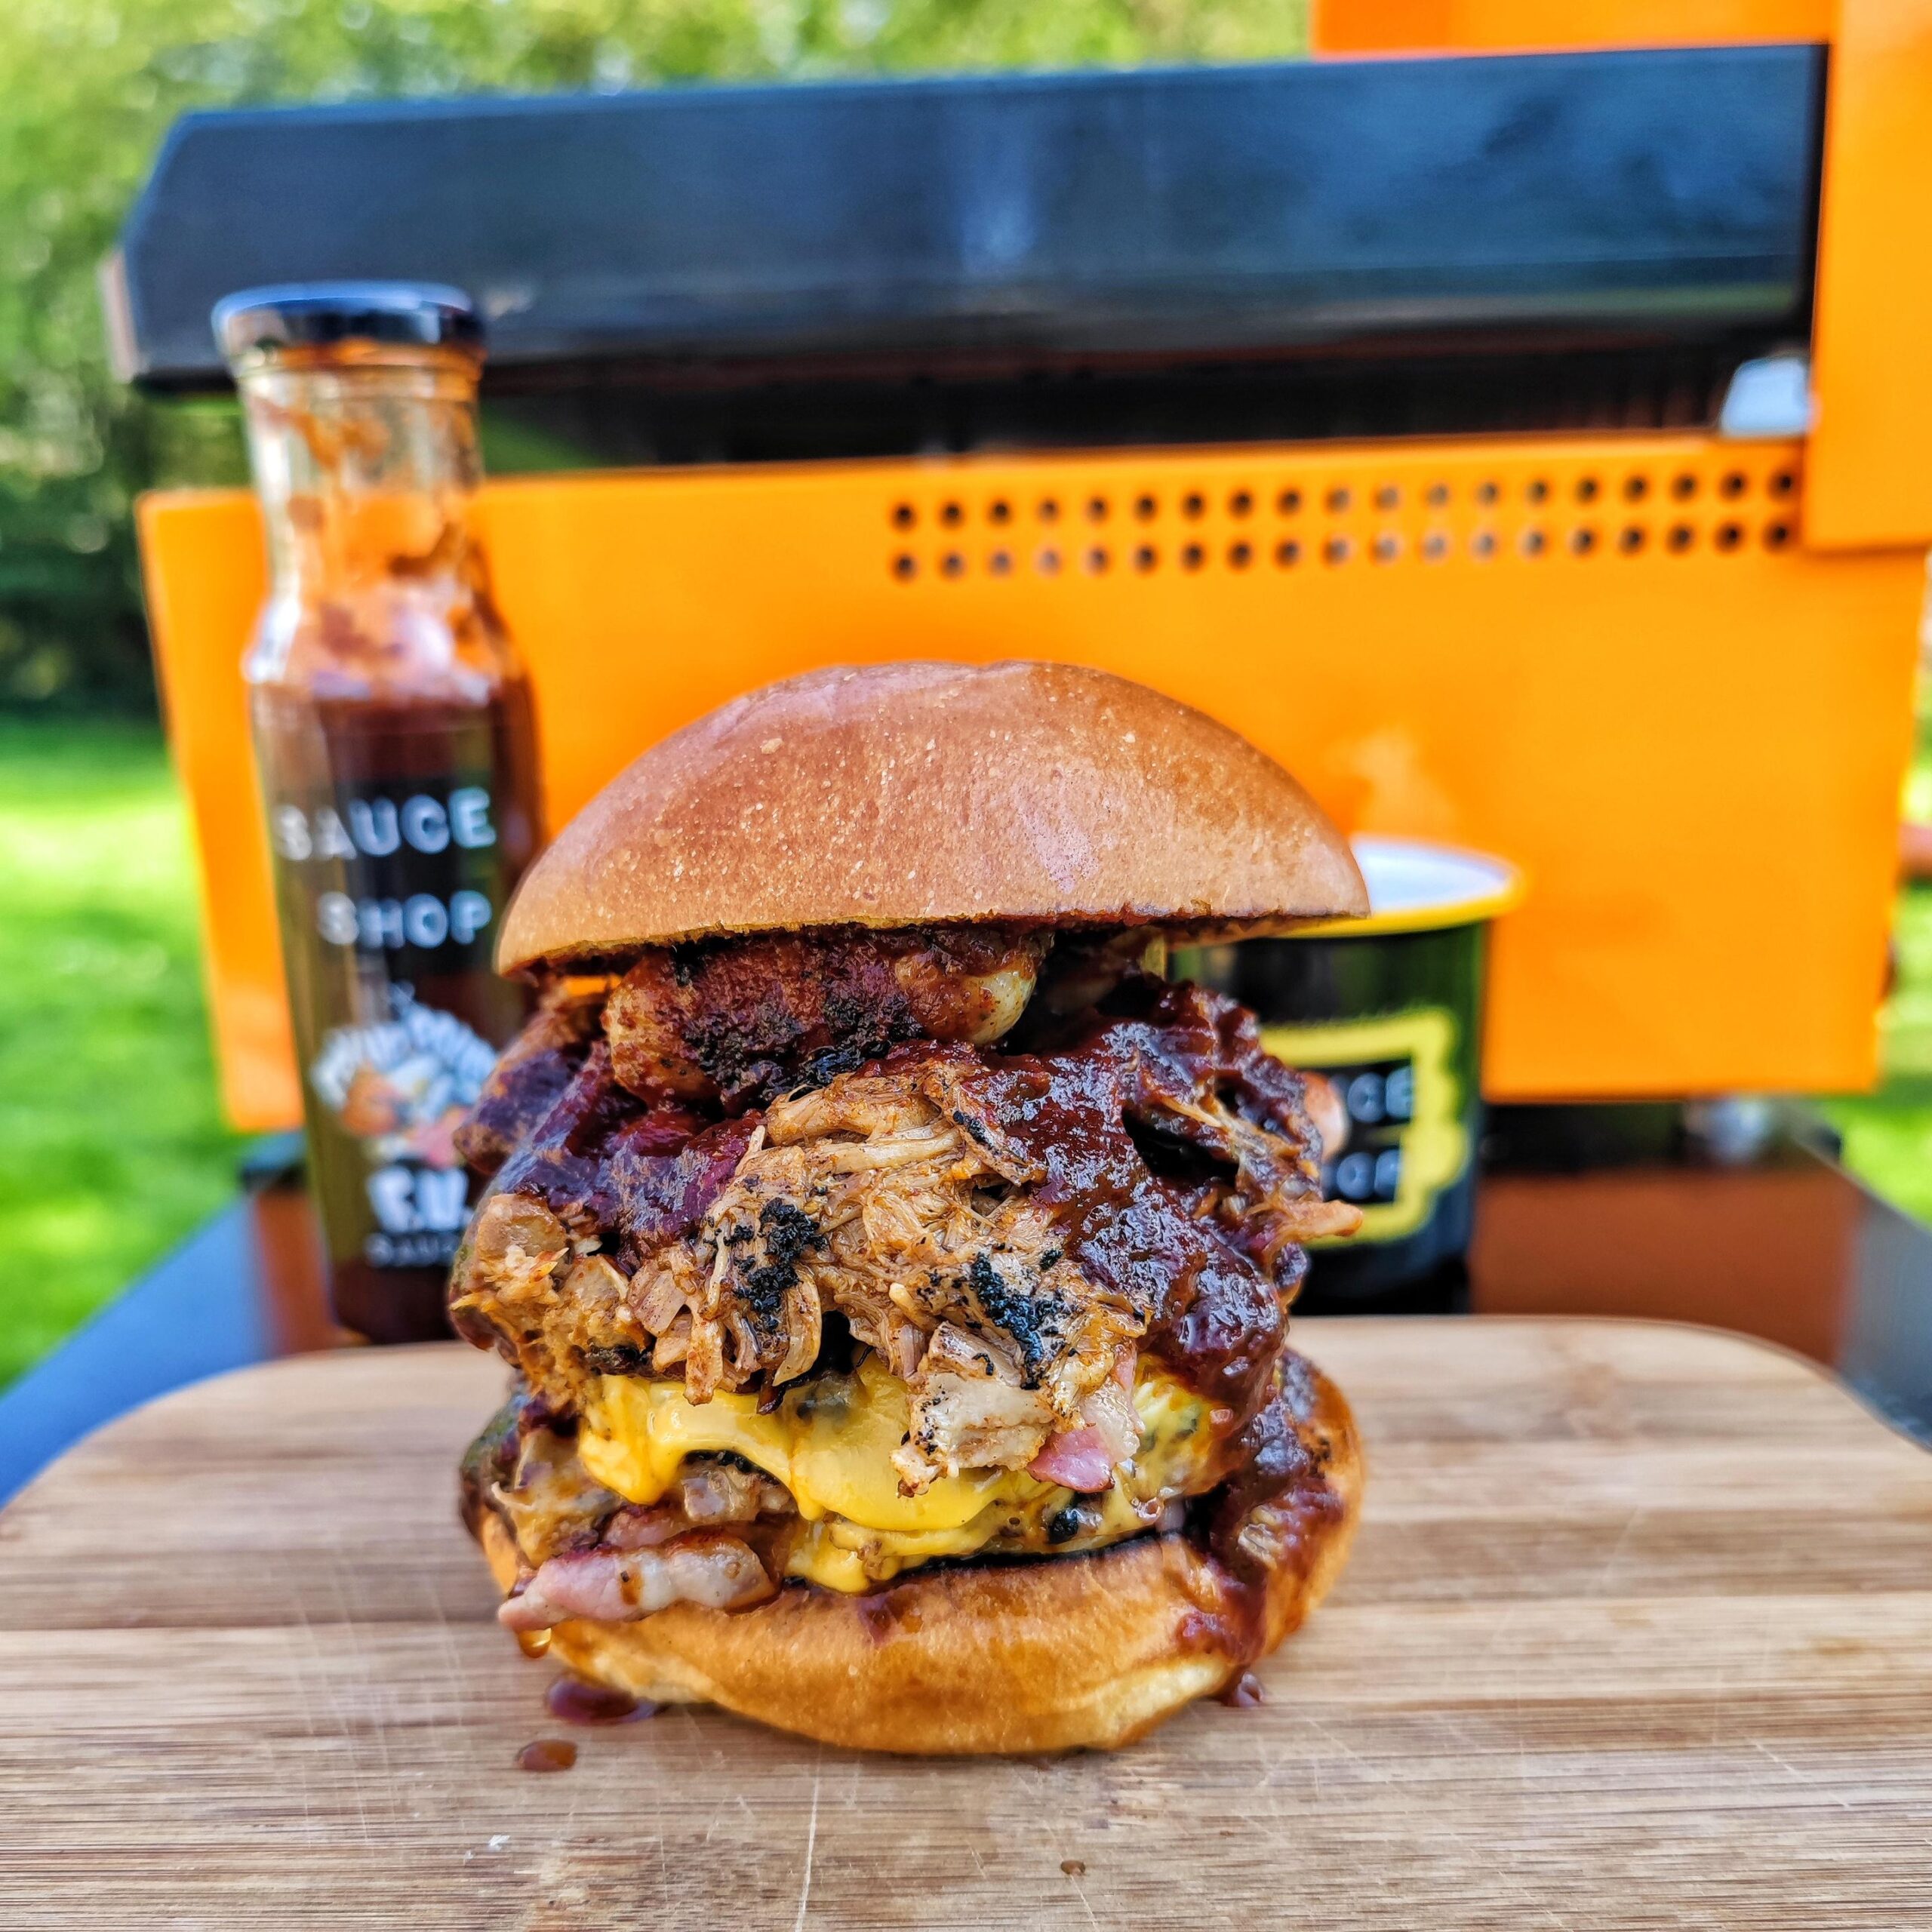
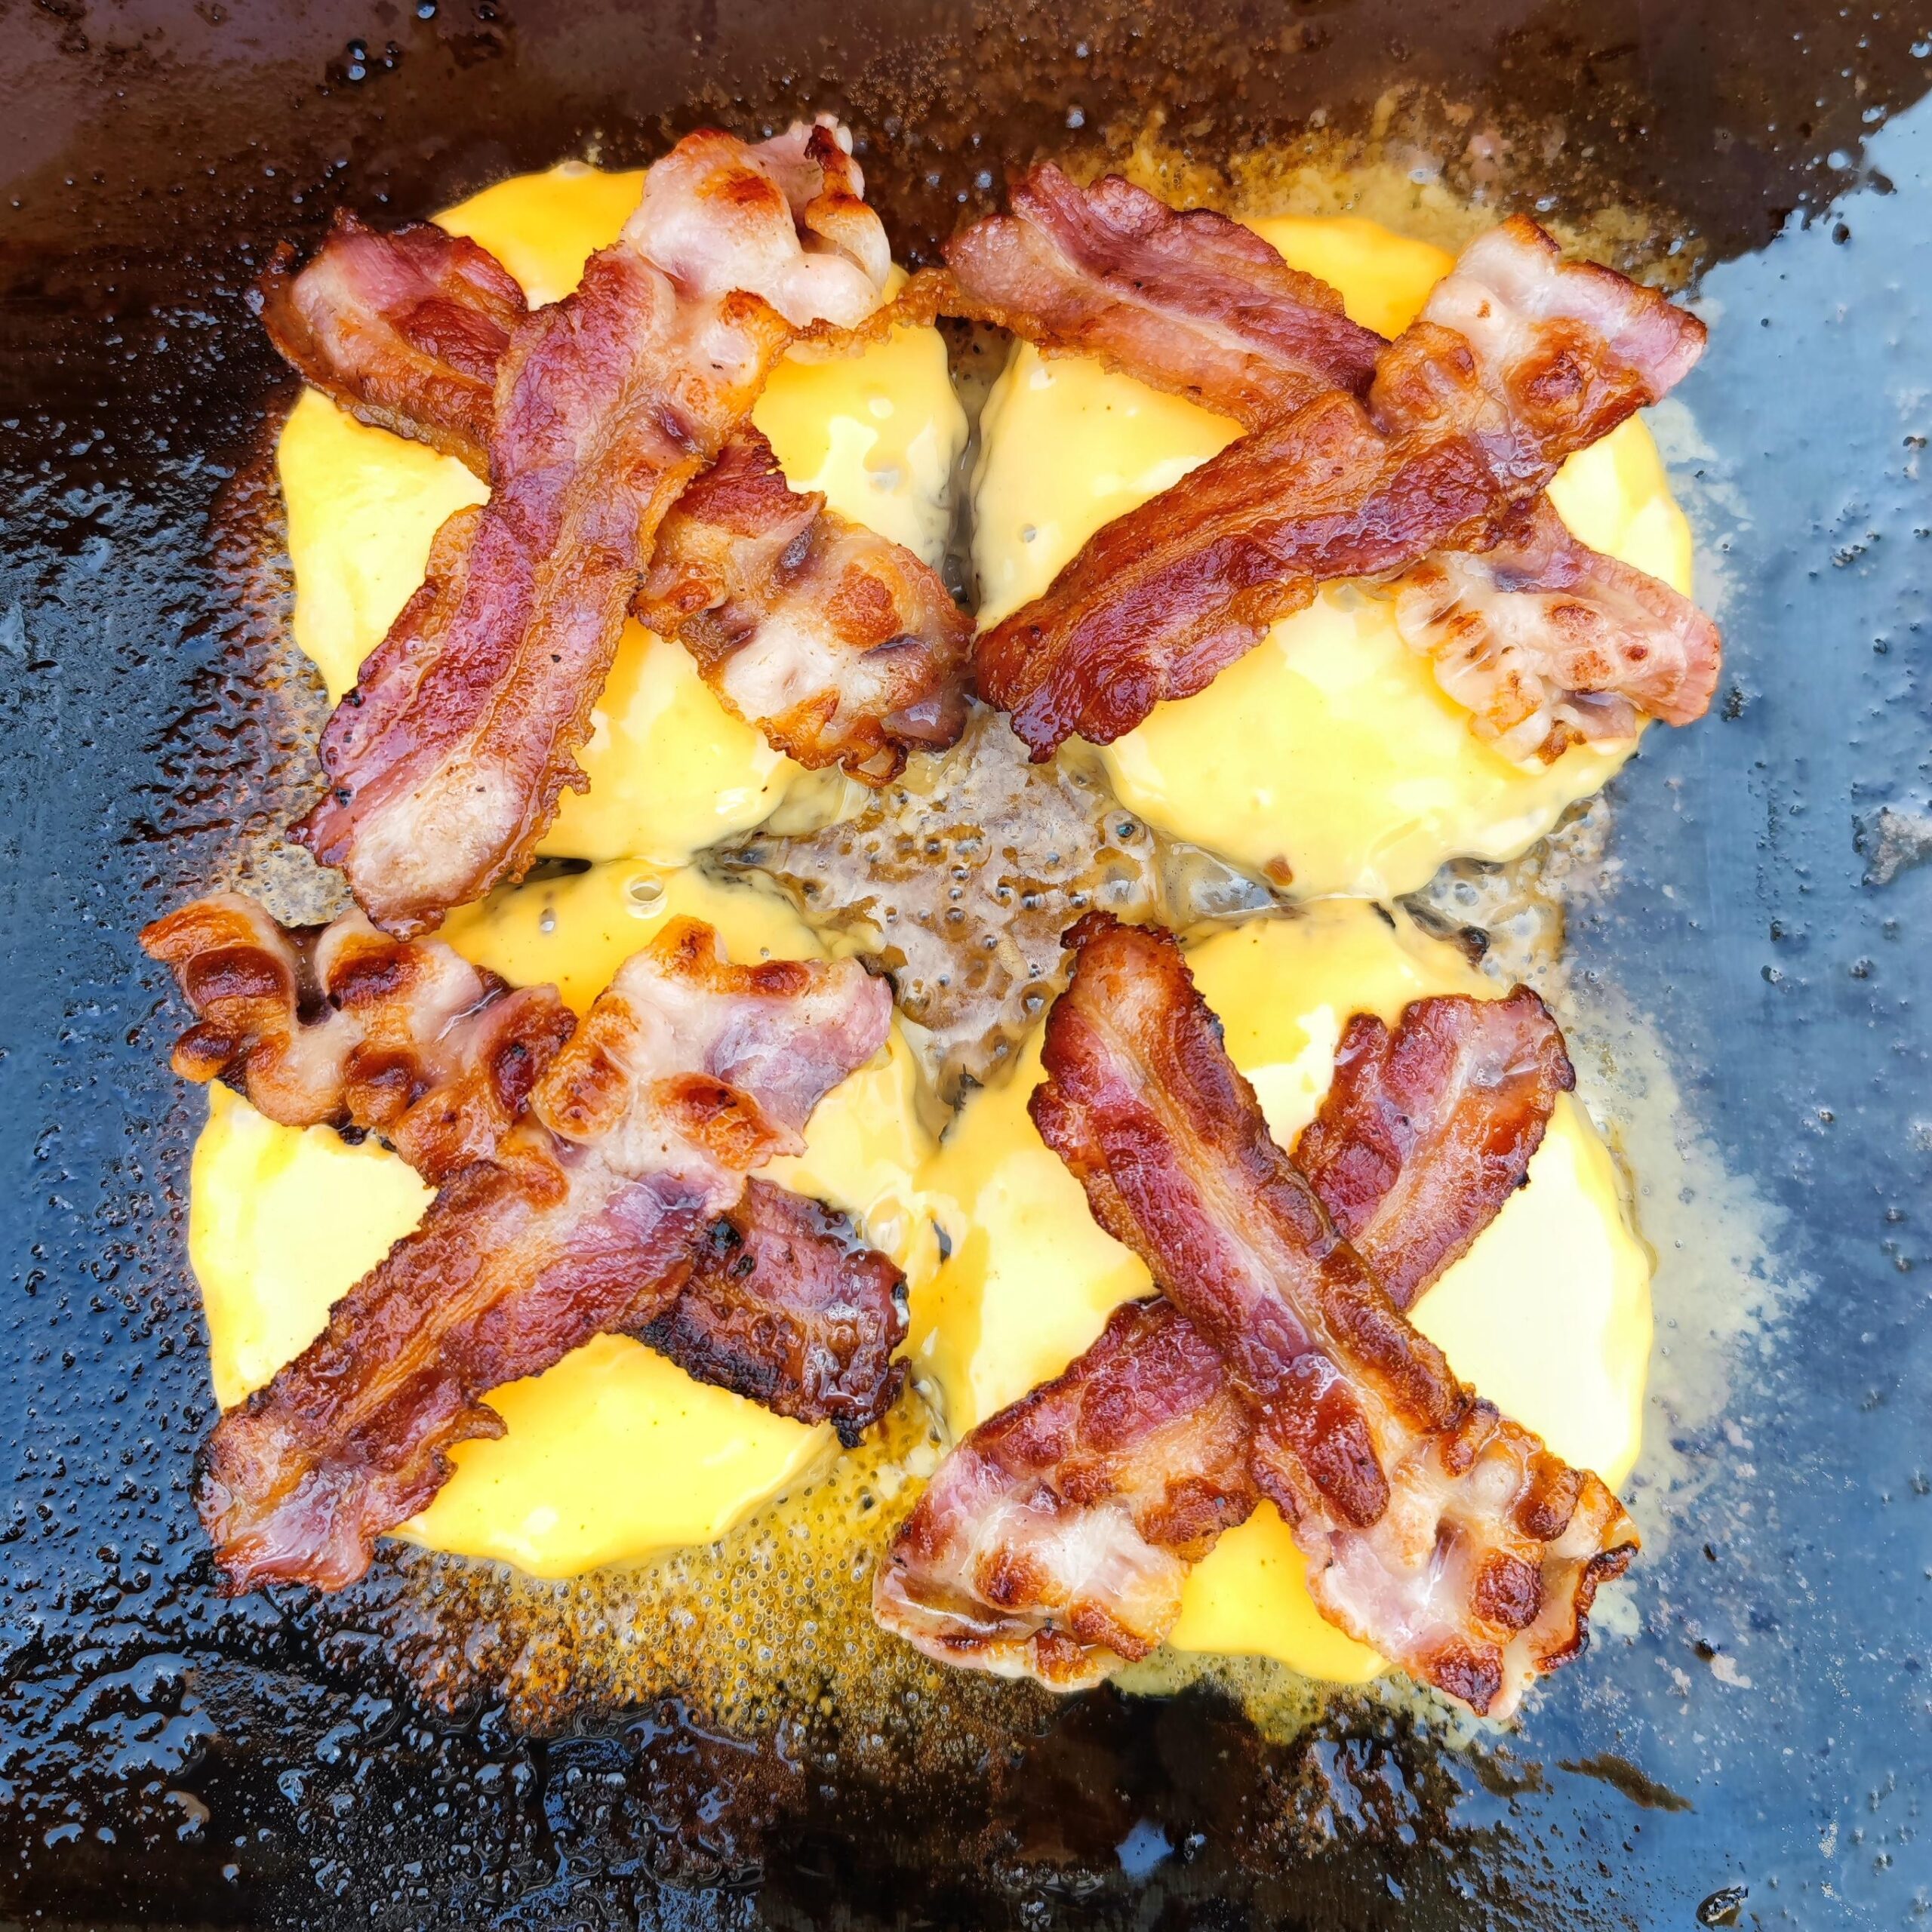
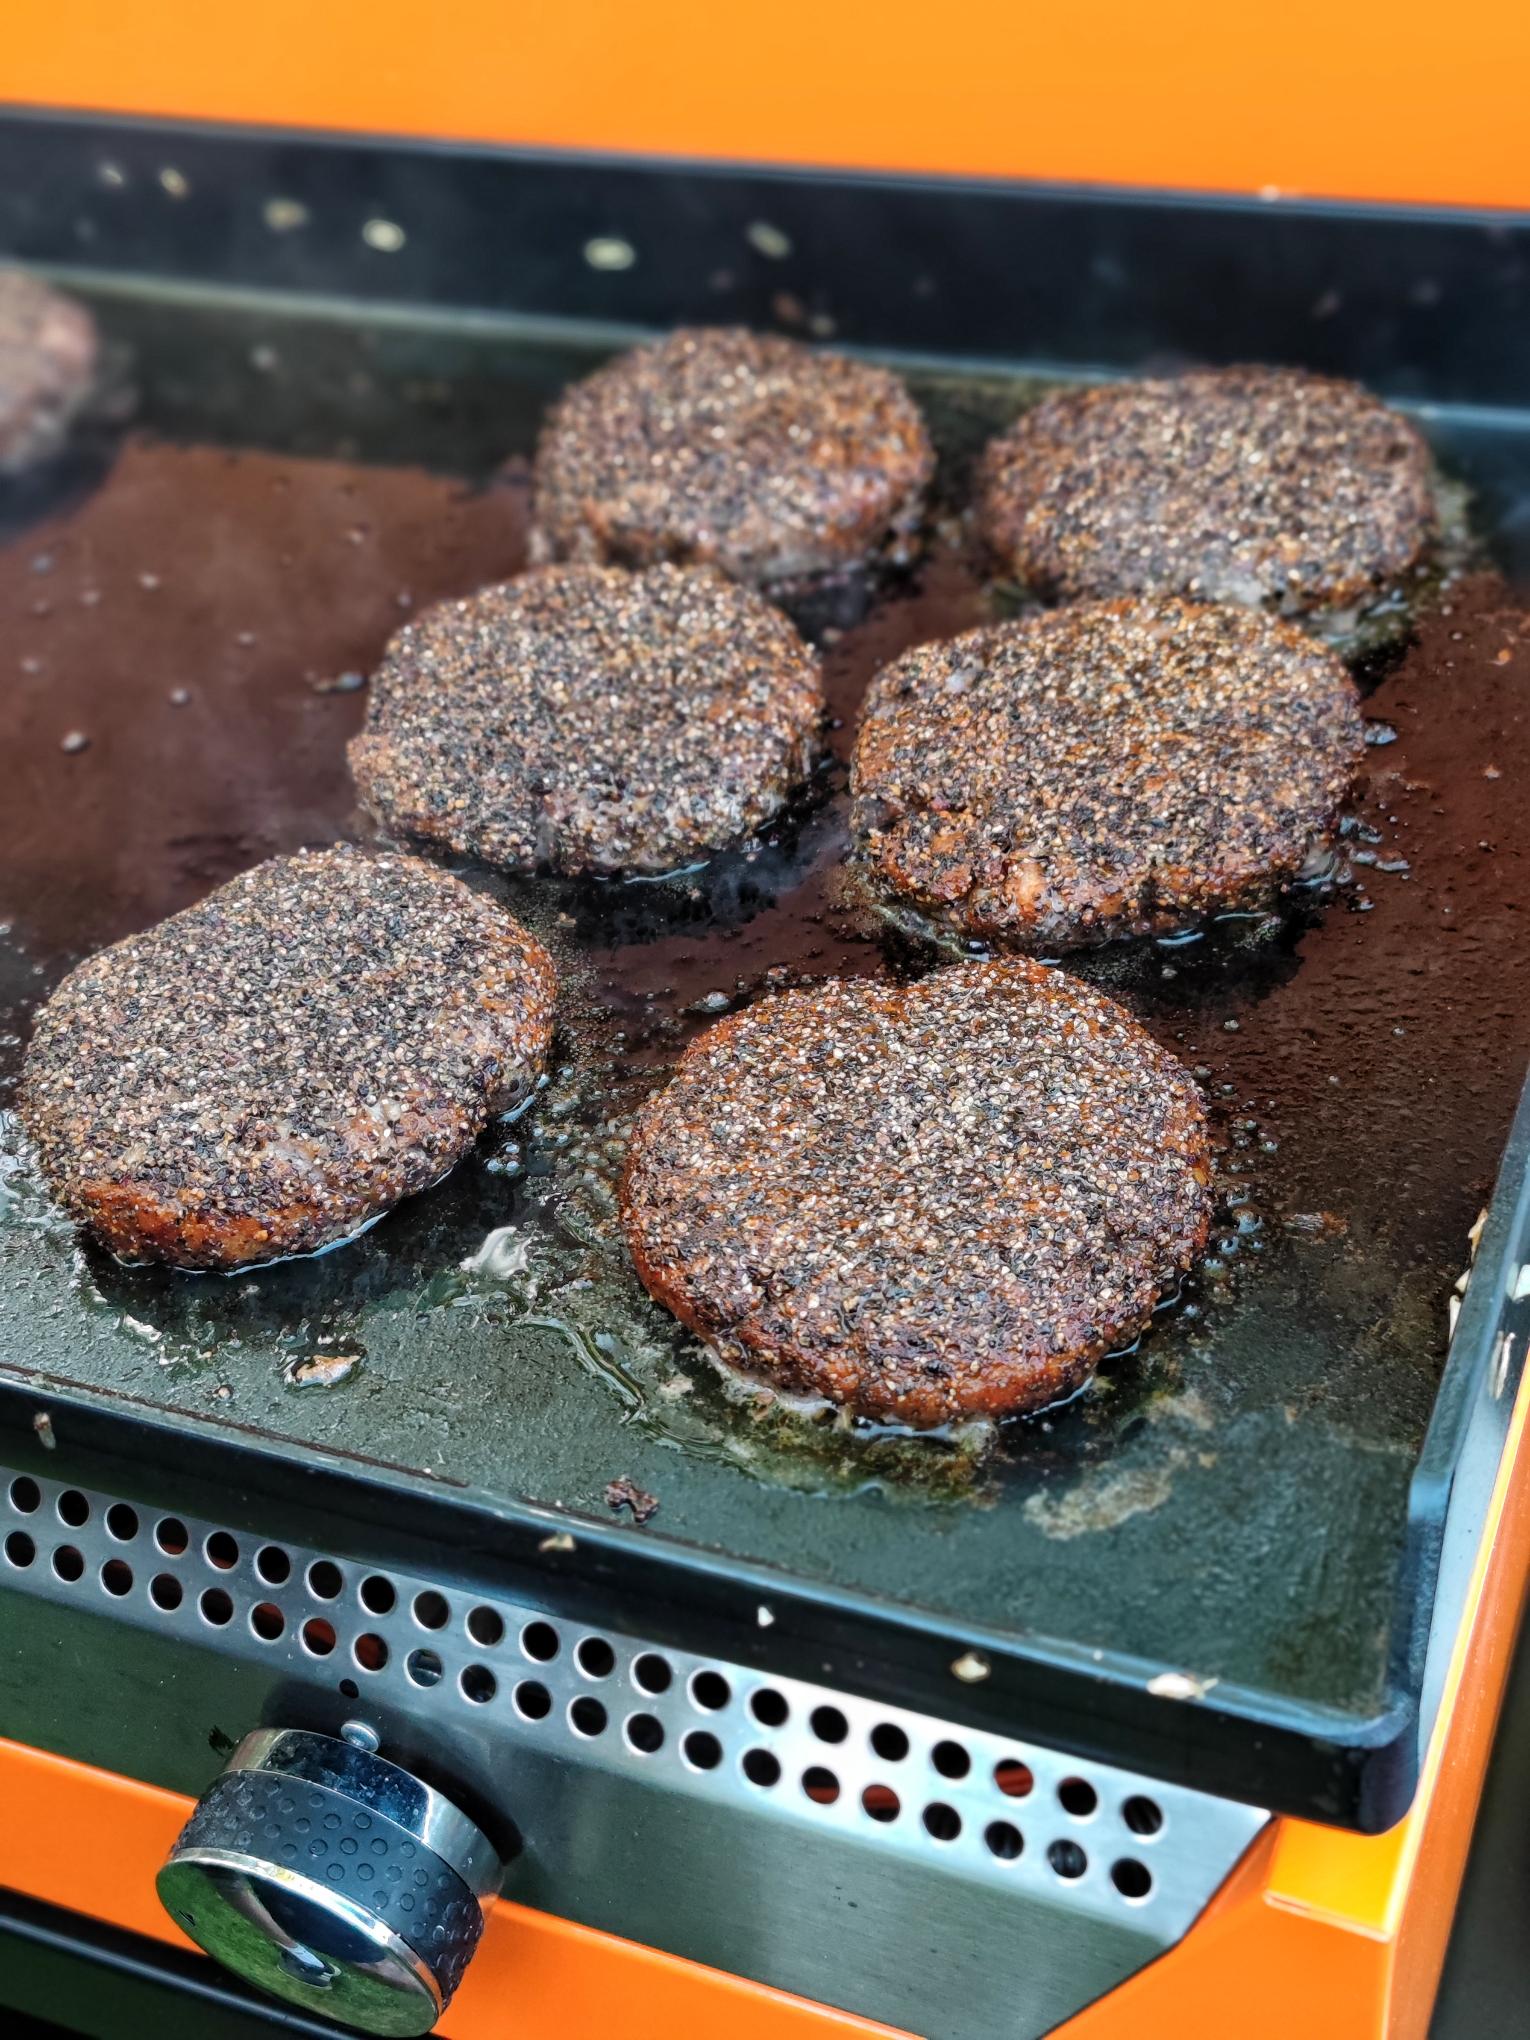
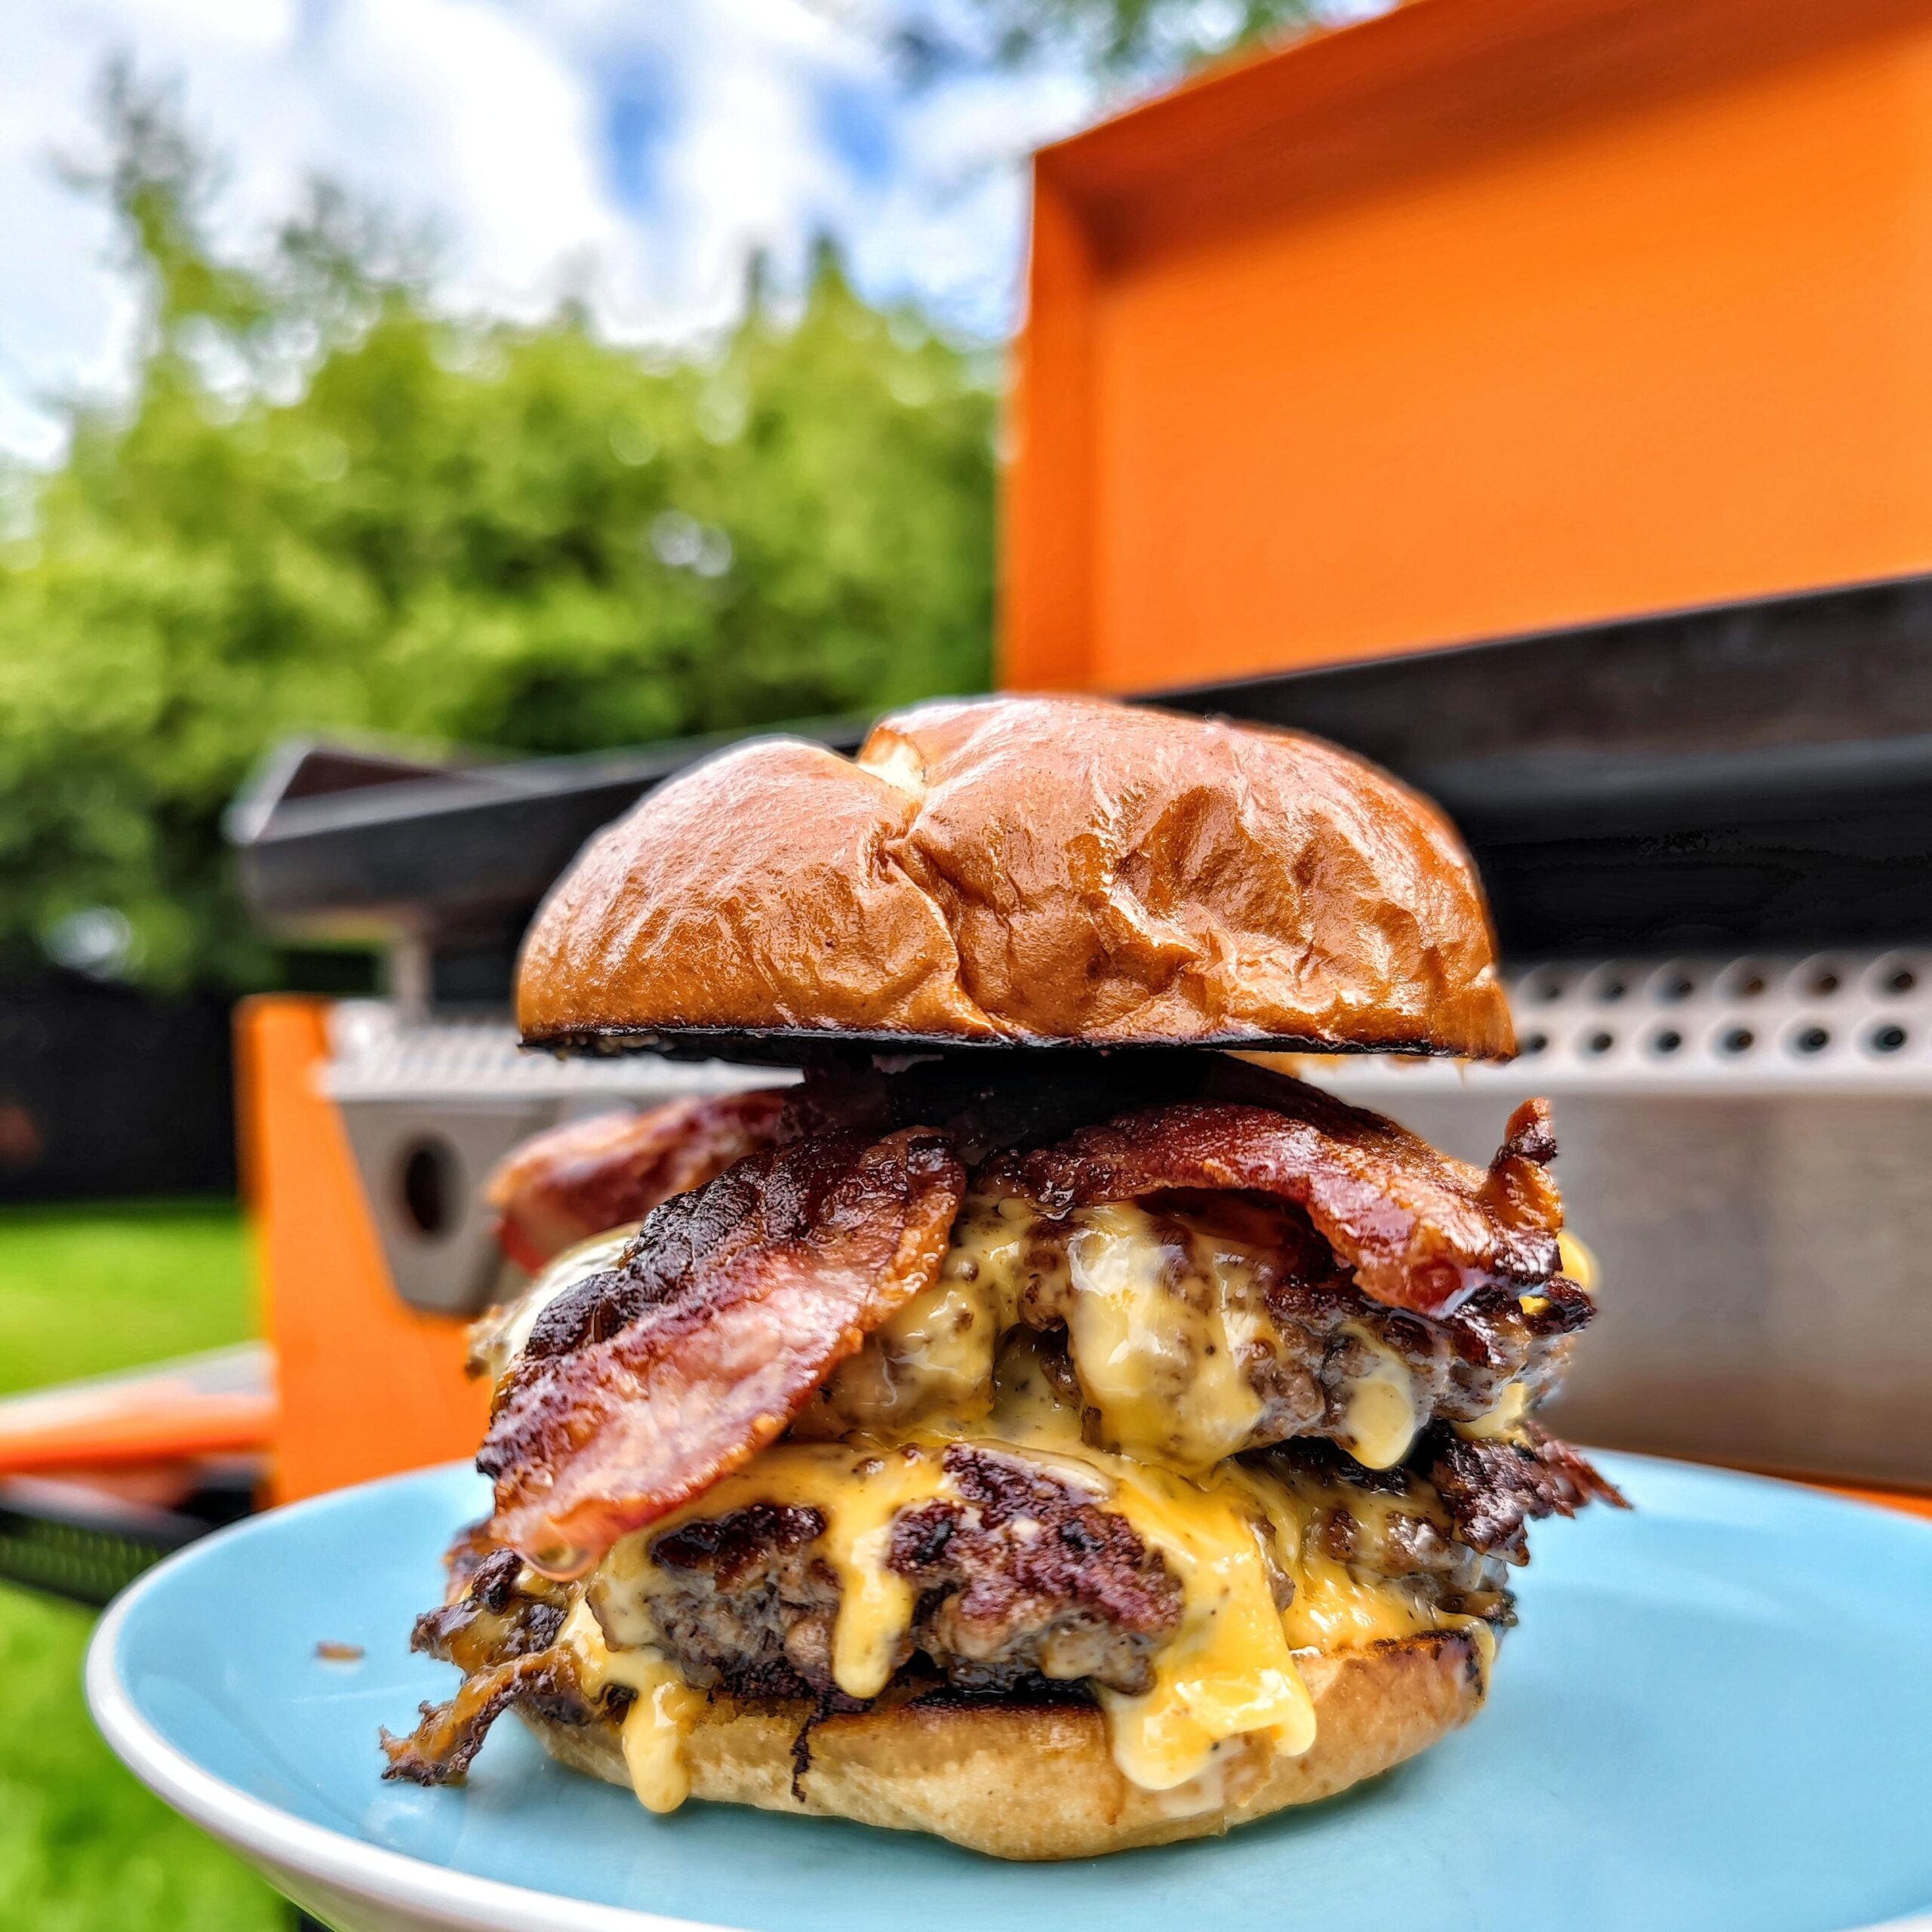
It may seem the obvious choice but it had to be done, we had a brand-new sauce to try out and we always know it’s a benchmark cook for people. So smashburgers it was, and we went big with these ones too. Doubles, both with bacon and double cheese, then some pulled pork on top and a couple of pigs in blankets for good measure. Glug of sauce and a toasted bun and a masterpiece was created. This cook gave us the chance to load the plancha up and cook a variety of items all in what was a relatively short cook. Needed to get the bacon crispy but without overcooking, cook the sausages in the pigs in blankets all the way through but without burning the bacon on the outside. Toast the buns without going too far. Heat up the pulled pork at the right time to go on top. And of course, get a nice sear on the burger patties without either overcooking or undercooking them. The CookOutdoor plancha handled it all, and I have to say at this point I was grateful for the cart and it’s side tables and shelves underneath, that extra storage space was invaluable with all the elements of this cook needing to come together. The grease trap on the front right corner really comes into it’s own with cooks like this, a quick but careful scrape and the grease and any bits stuck on come away with ease and slide down into the drip tray below.
Then we come to the cleaning of this grill, and this really is where plancha grills like this come into their own. Simply pour a small amount of cold water onto the grill surface and the heat instantly boils and steams all the food particles and grease up from the surface, so a careful scrape using the tool provided and whilst wearing a heatproof glove to protect from the steam and you are ready. I run a scraper towards the grease trap to clear the grill, then do the same again with fresh water but this time hold a paper towel with some tongs to wipe down the surface and that’s it. A clean grilling surface. It really is that easy and one of the key selling points of flattop grilling like this. Its easy and quick giving you more time to enjoy your food or get back to family and friends. Whilst the grill is still warm, I brush over a very light layer of a high burn point oil such as rapeseed, all over the grilling plate and the edges too and rub it in. This helps to keep that layer of protection for the grill between uses and also keeps that layer of non-stick seasoning too. Within 20mins or so the grill is now cool enough to close the lid (if you have one), disconnect the gas and put the cover over (if you have one). All stored away and protected ready for your next grill session but, trust me it won’t be that long as you will want to keep cooking on the CookOutdoor plancha over and over again.
Which brings me right onto my next cook only a few days later. Simple hot dogs. Chopped up some onions to do some traditional fried and some red onions with balsamic. Rolled the hotdogs on for just a few minutes to heat through and the cook was done. Easy. The grill heats up quickly, cooks quickly, and cleans down quickly. Just what was needed for this cook. There really isn’t much more to be said for this one apart from I continued to be impressed.
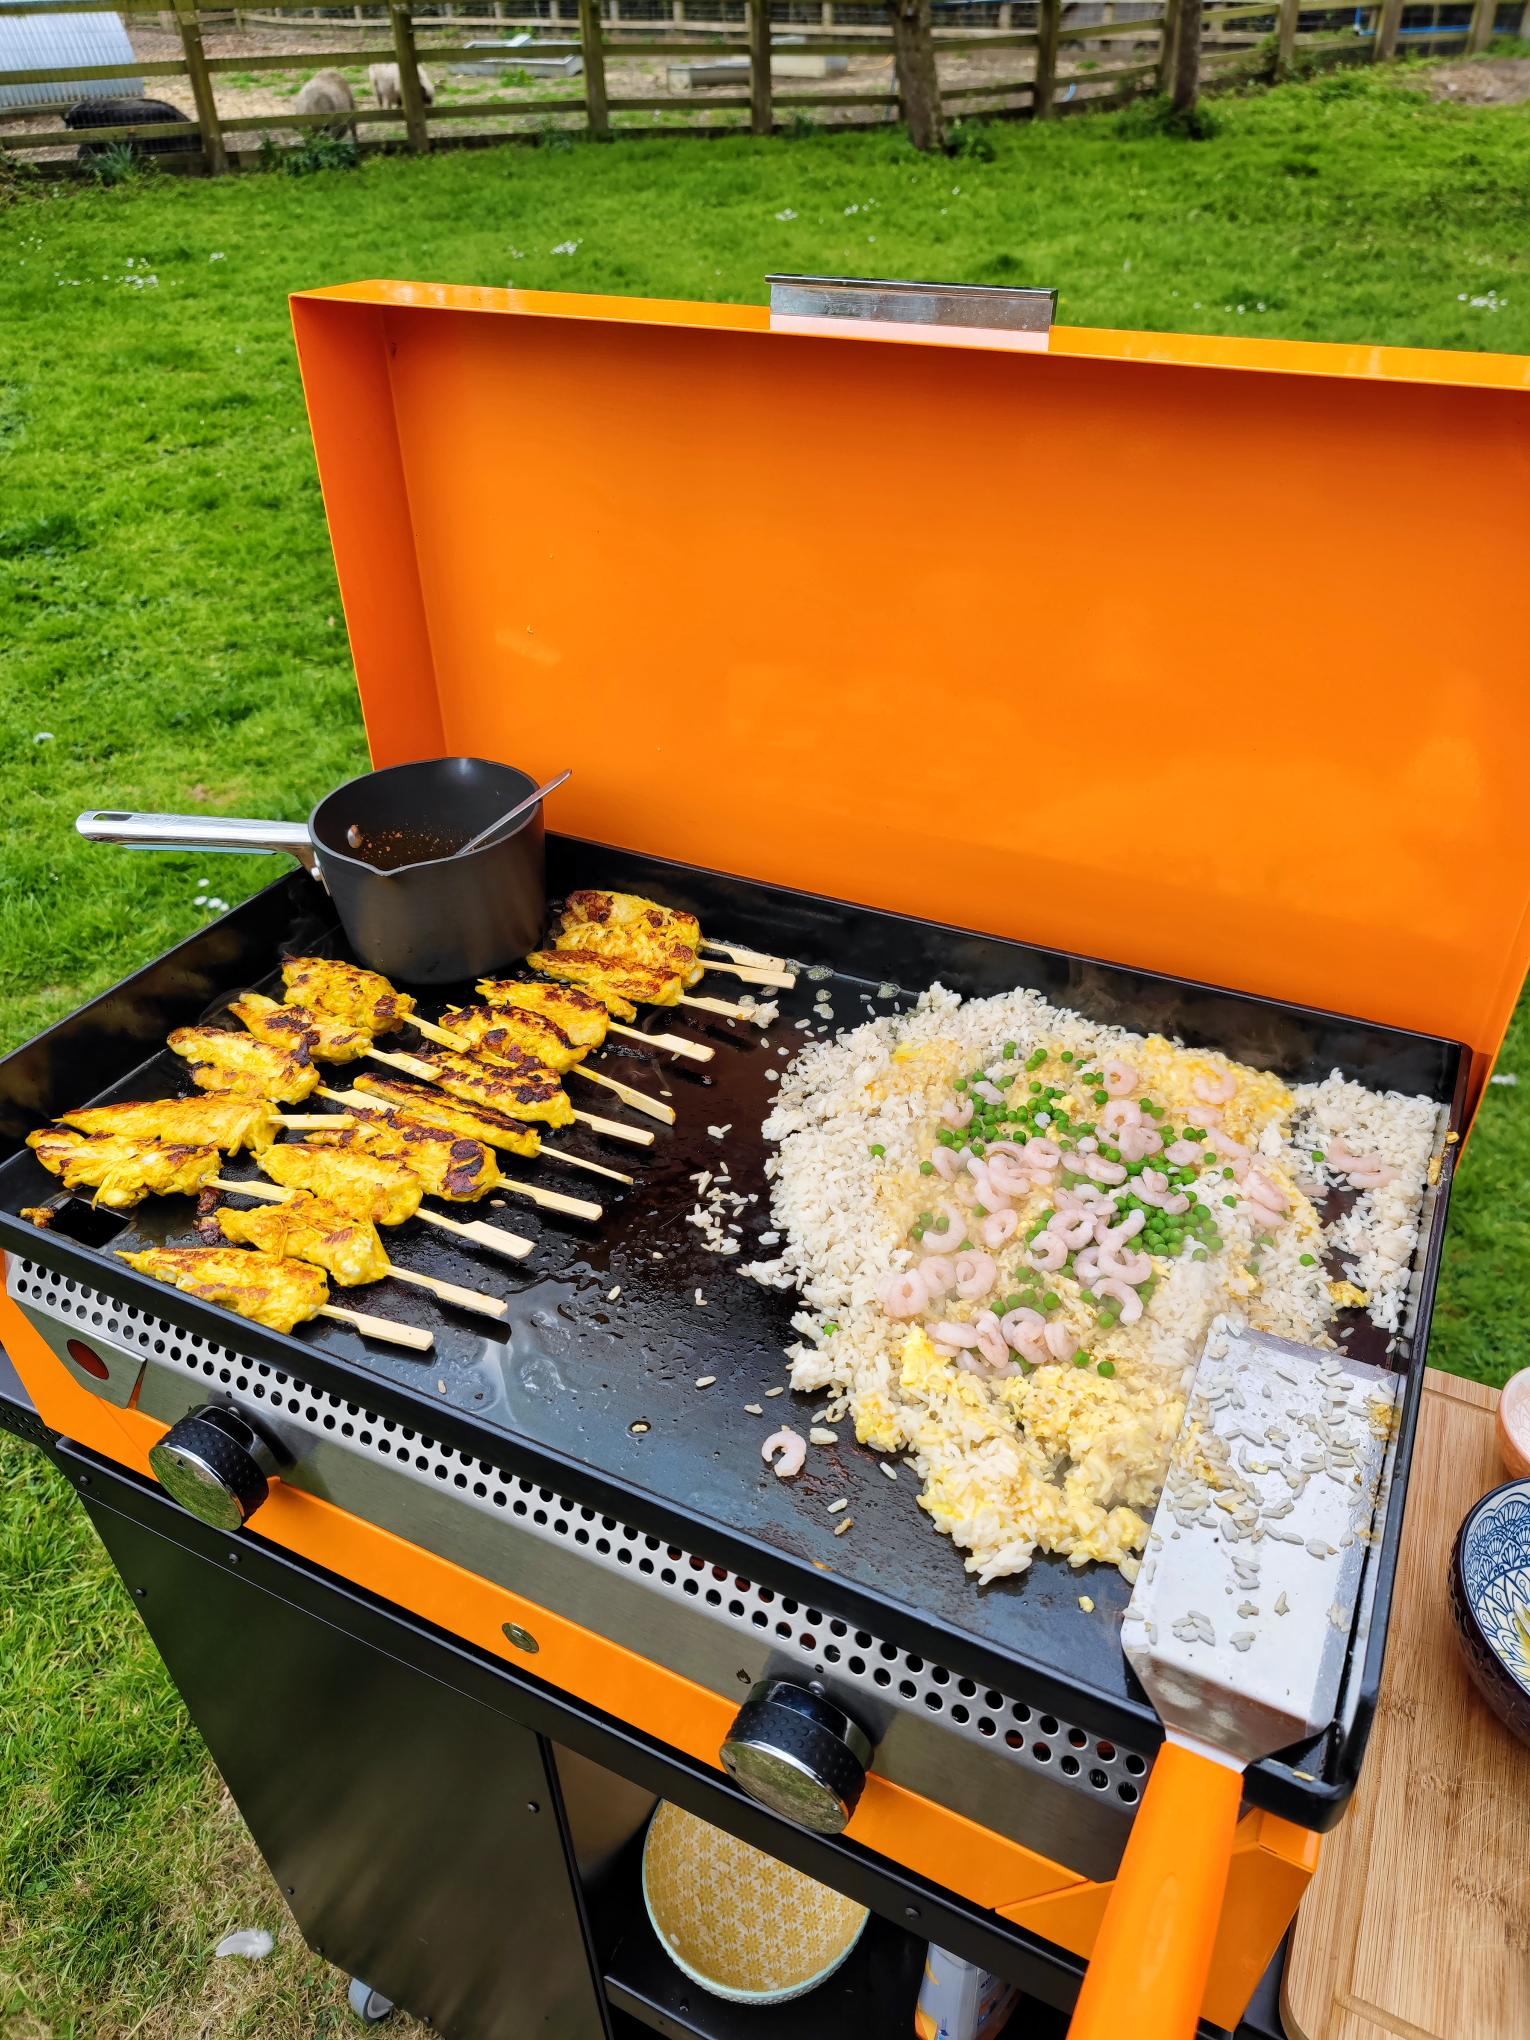
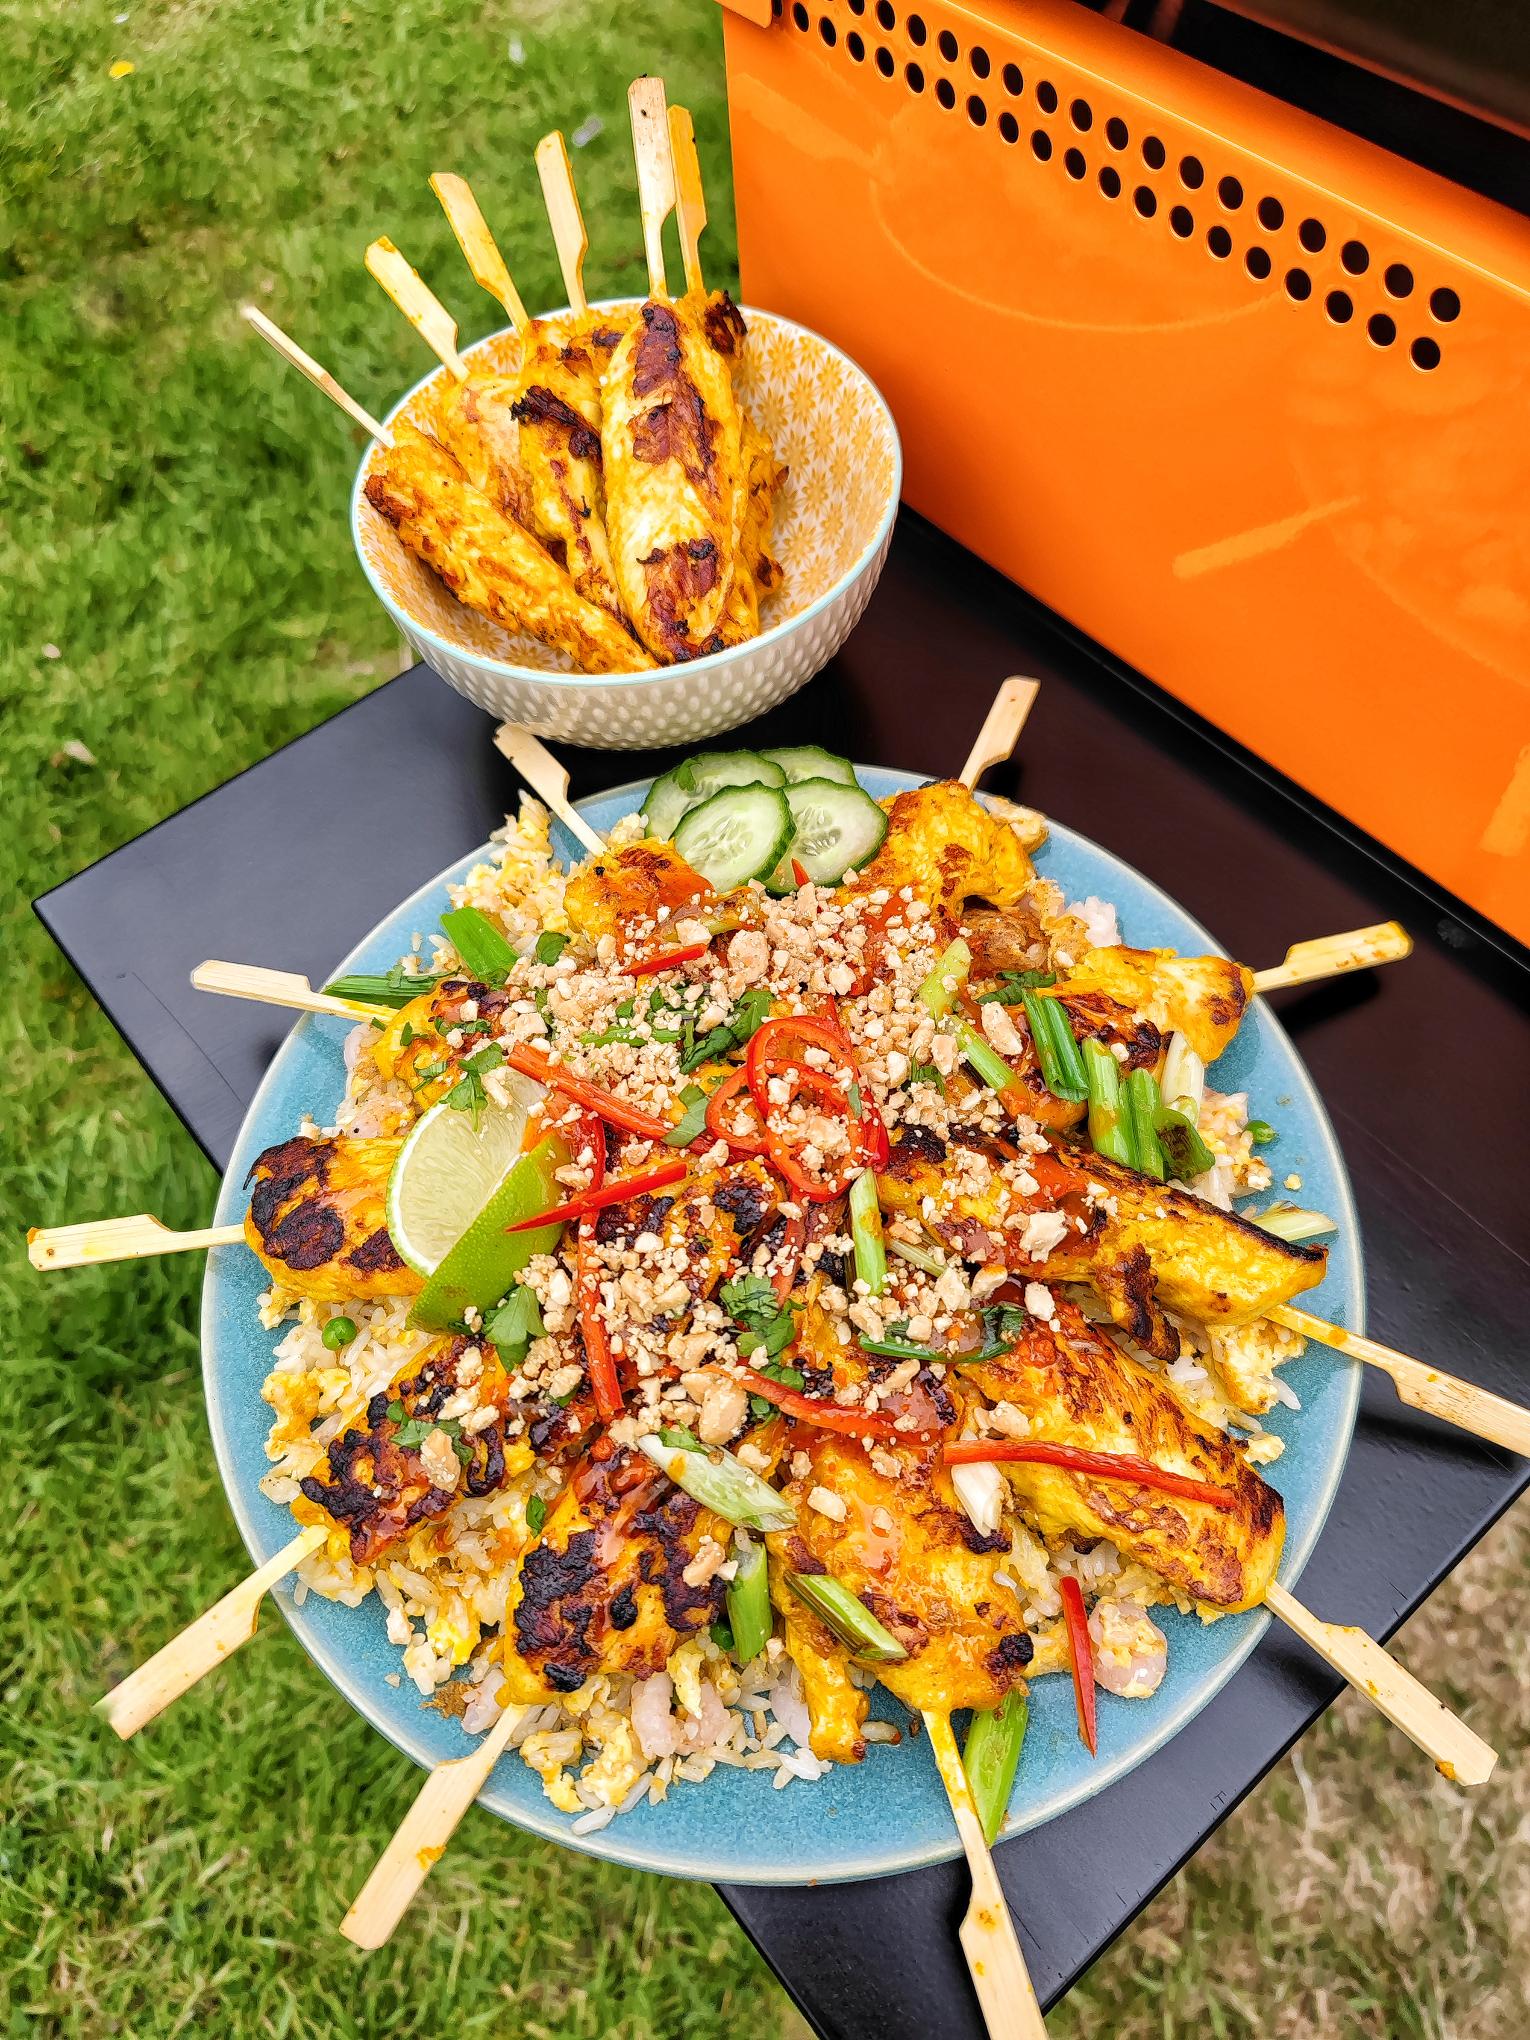
Roll on another few days and the cover was back off and I had the ingredients in for something a little more refined. So, with the easy wins out the way with the smashburgers then the hotdogs, it was time for some chicken satay skewers and special fried rice. A good test for the plancha with different temperatures needed for the different elements of the cook, and to see how easy it was to move things like rice around on the grill. Plenty of options for things to get sticky too! Another relatively quick cook to roll out as the chicken skewers would cook quickly and just needed to be basted with the sauce. I brushed the grill with some sesame oil to start and set the burners to a medium heat, and when it was time to flip there was pretty much no sticking and the ones that did were easily lifted with one of the accessory tools you can buy alongside the grill. With plenty of space the chicken was all moved off to one side and basted as the rice was added to the grill. Again, I used some oil just before to help stop the rice sticking, then created a nice well in the middle for the beaten eggs to be poured into. One thing I like about this CookOutdoor plancha is the height of the sides, it means you can easily move things like rice around without the risk of it all falling over the edges. So with the chicken nearly done after keep basting with the satay sauce, the eggs cooked and spread through the rice, it was time to add in the small shrimp and peas just to finish it off. Another successful cook completed.
A quick clean down and oil over again and the grill is ready for the next time you come to cook on it.
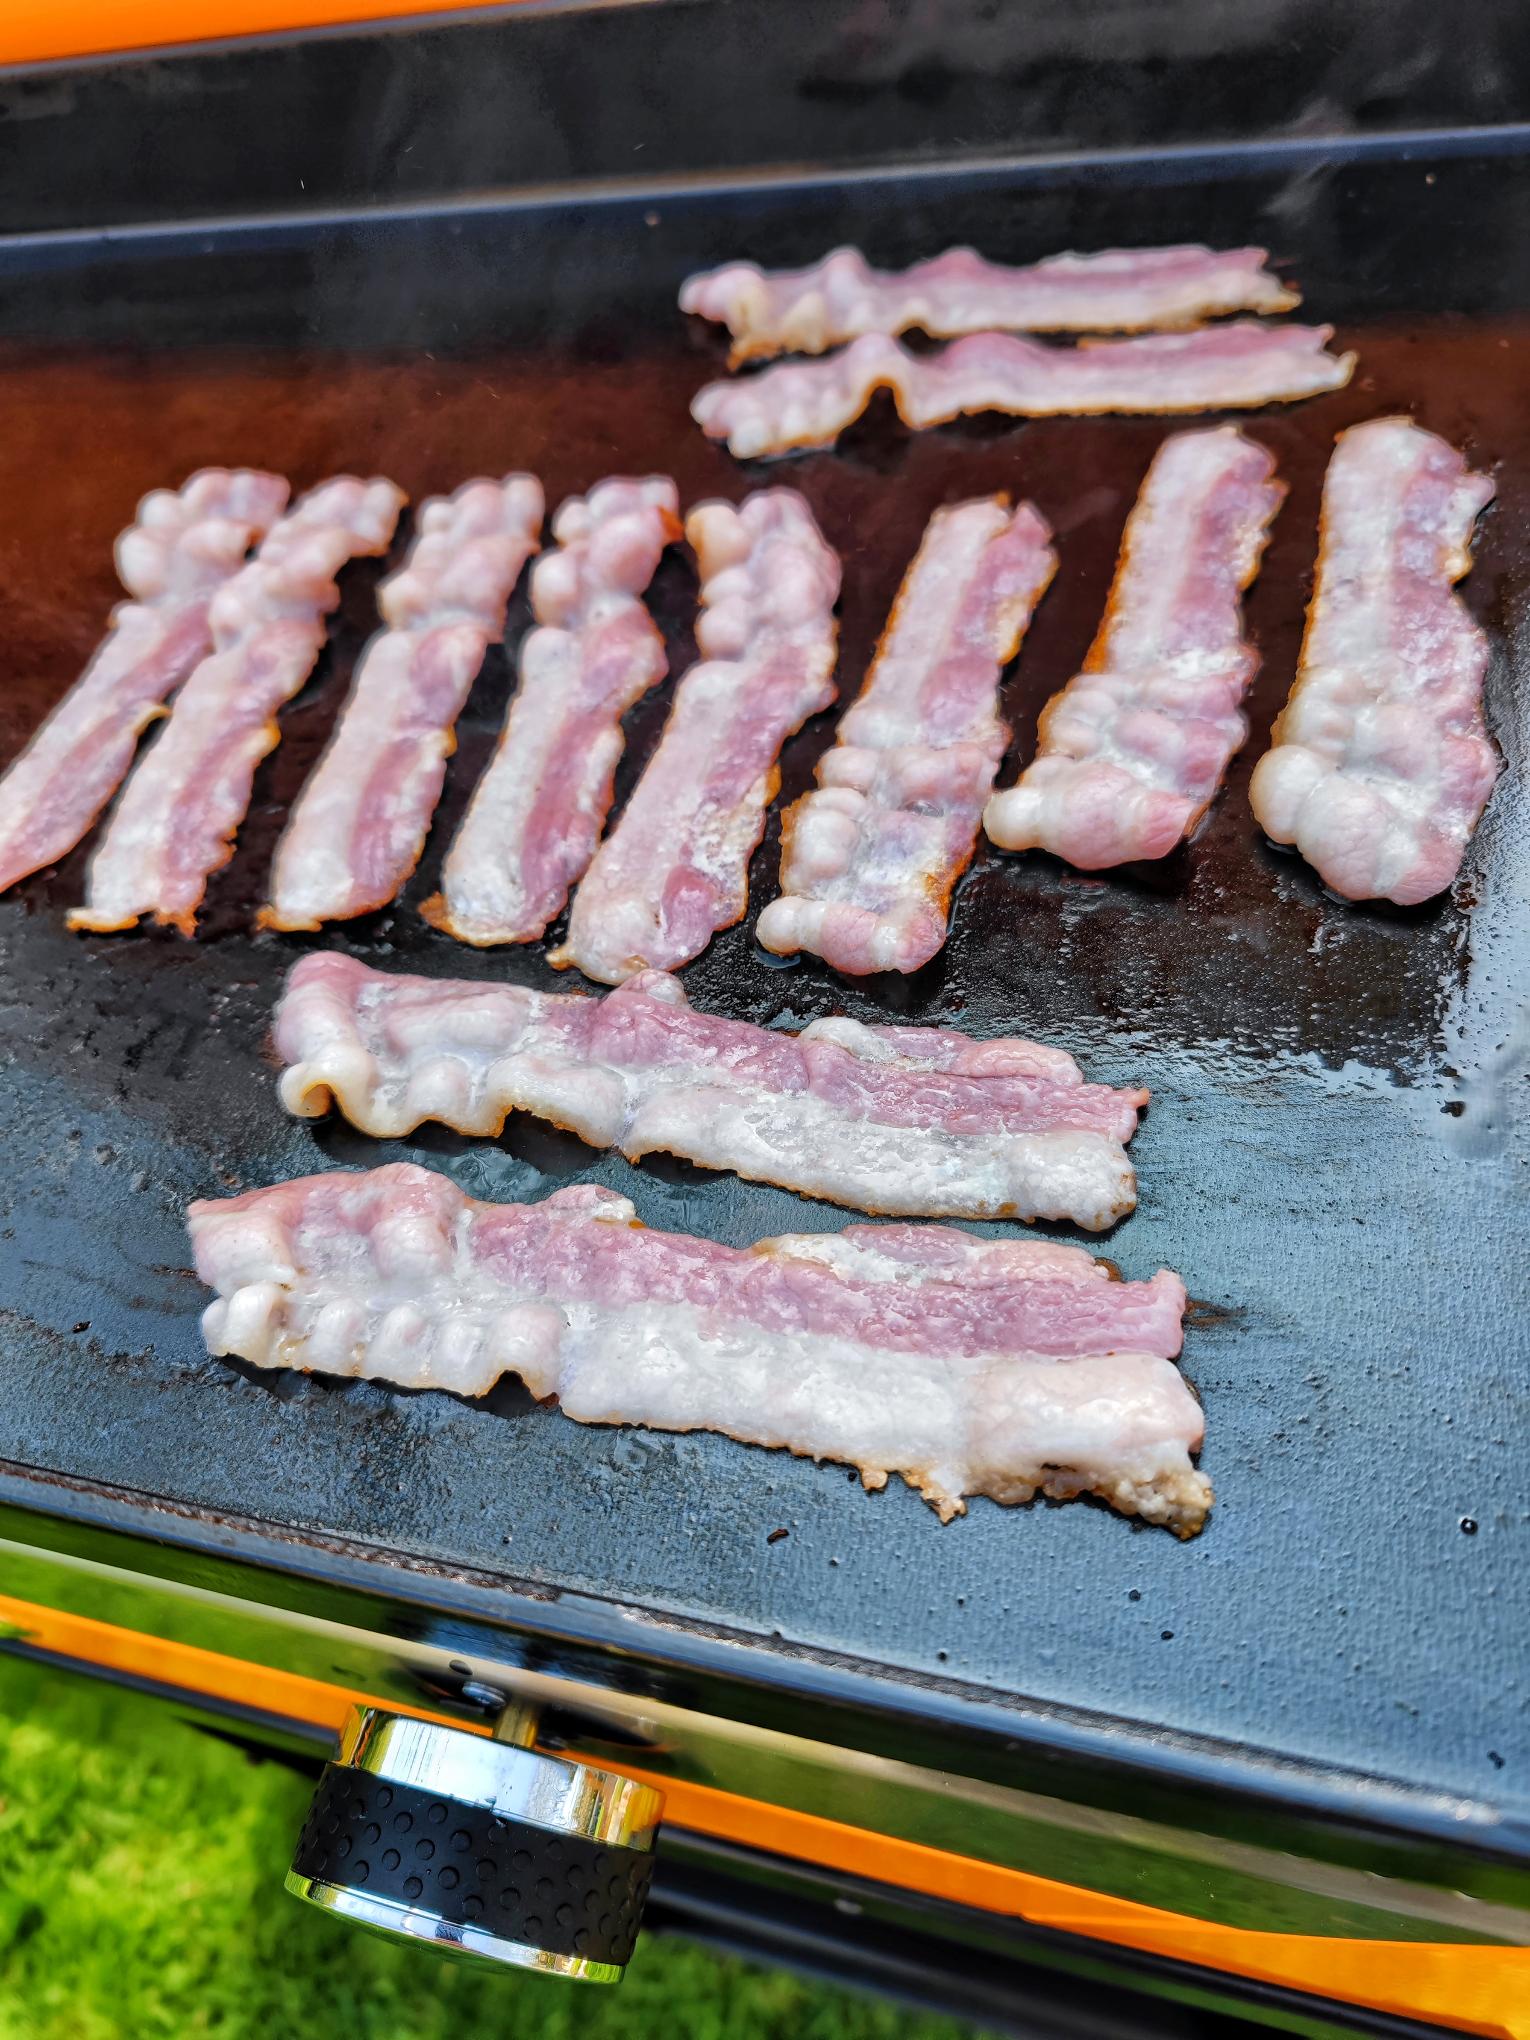
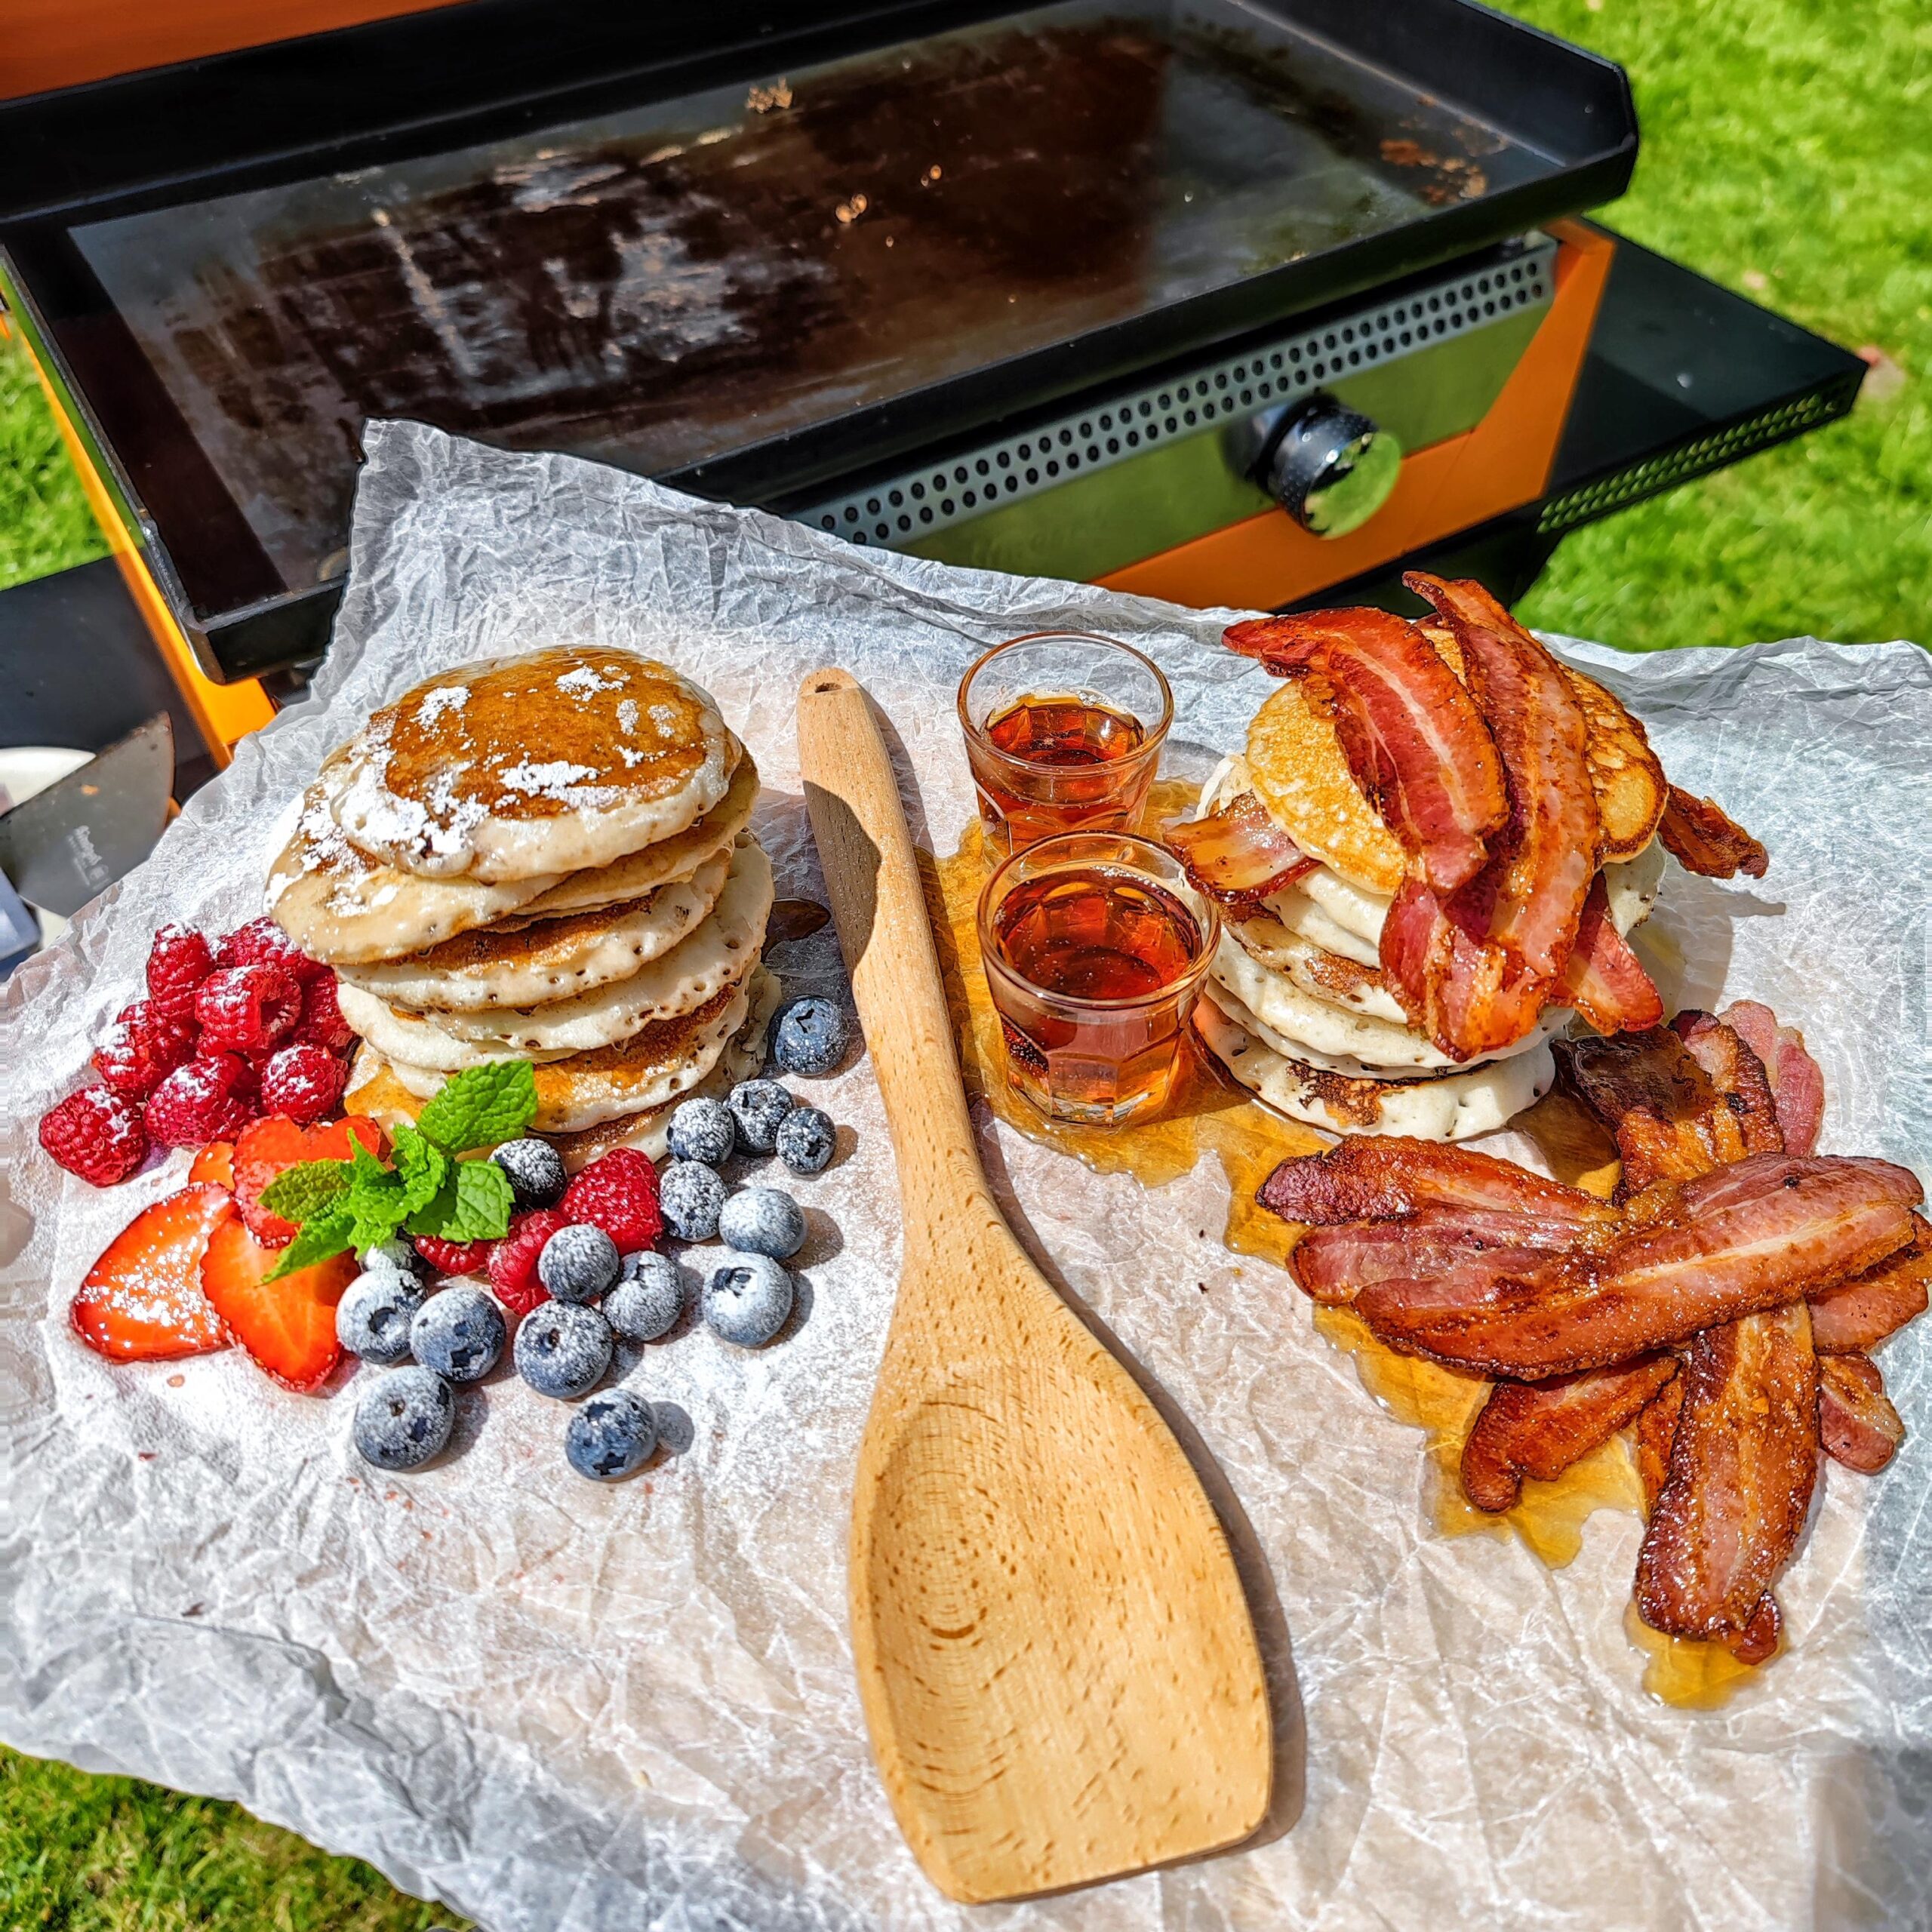
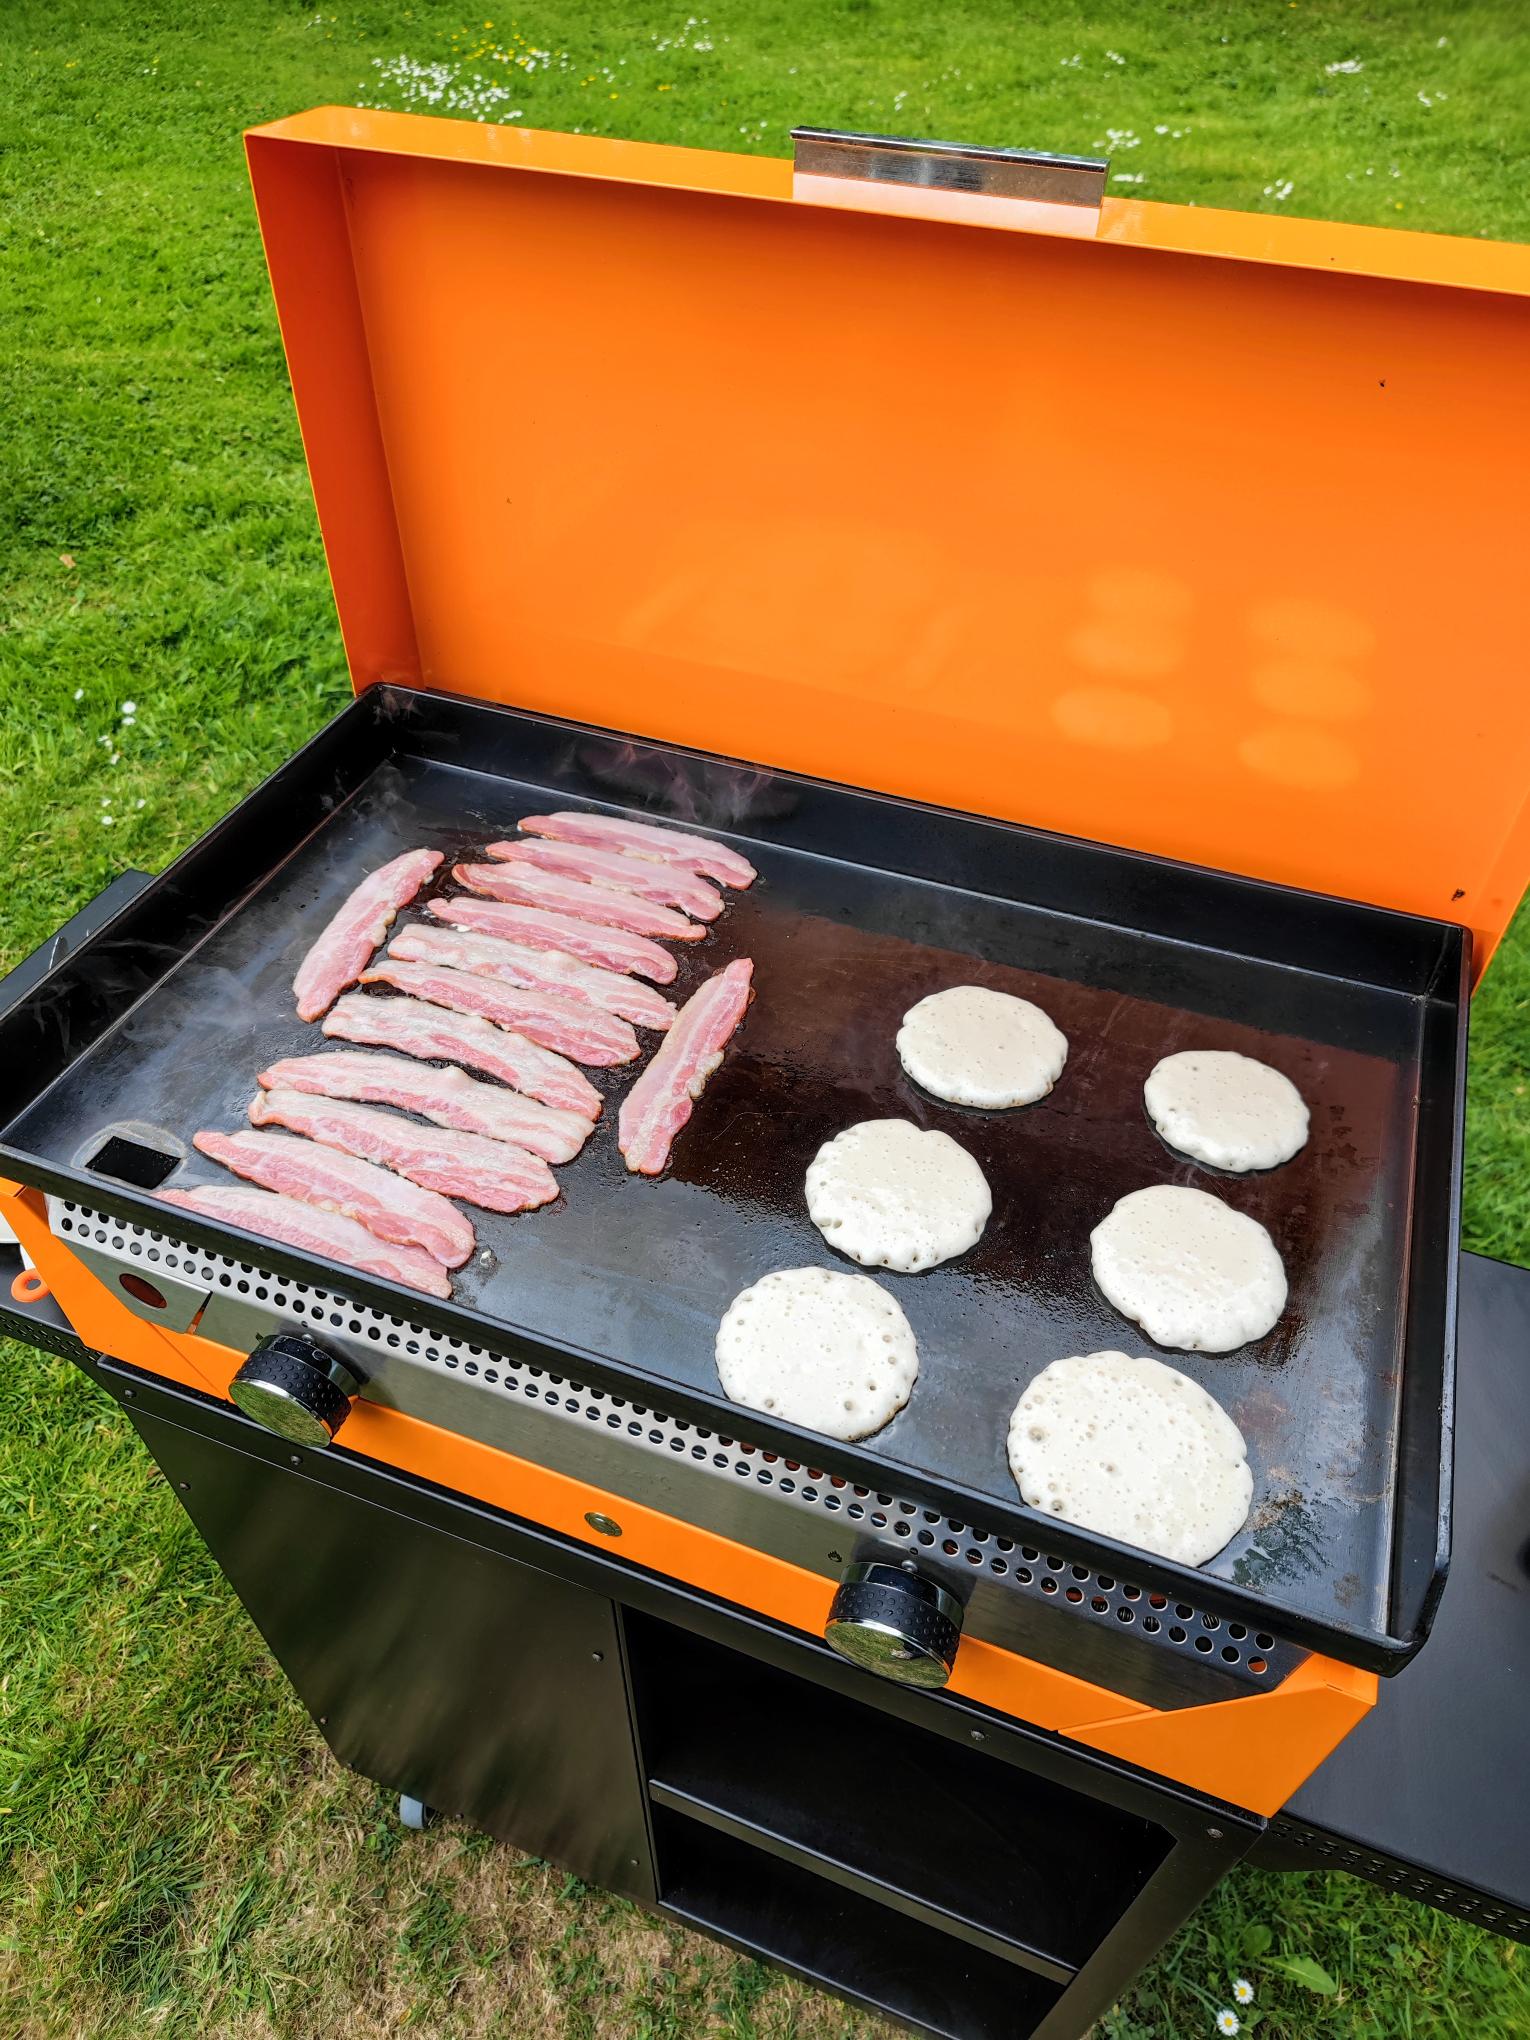
For the fourth cook, I knew I wanted to get this grill loaded up again, only this time it was a breakfast session, but not with a full English, I decided to load it up with some thick and fluffy American style pancakes. With my squirty bottle loaded up with batter, it was pancakes one side and streaky back bacon on the other. Some grills I have used in the past have ruined the bottom of a pancake in no time by being far too hot and burning it before the middle it ready for the flip, so I approached this one with caution and kept the burner as low as it went on one side, whilst the other higher to cook the bacon quickly and get it nice and crispy. Butter was my choice of non stick fluid for this one and it did the job perfectly, at the flip there was a nice golden brown colour on the pancakes and then only needed another minute or so on the second side to colour up and cook through. The bacon gave off it’s own non-stick lubrication, and again within a matter or minutes the cook was done, the grill was cleaned down and we were sat eating a decent Sunday breakfast.
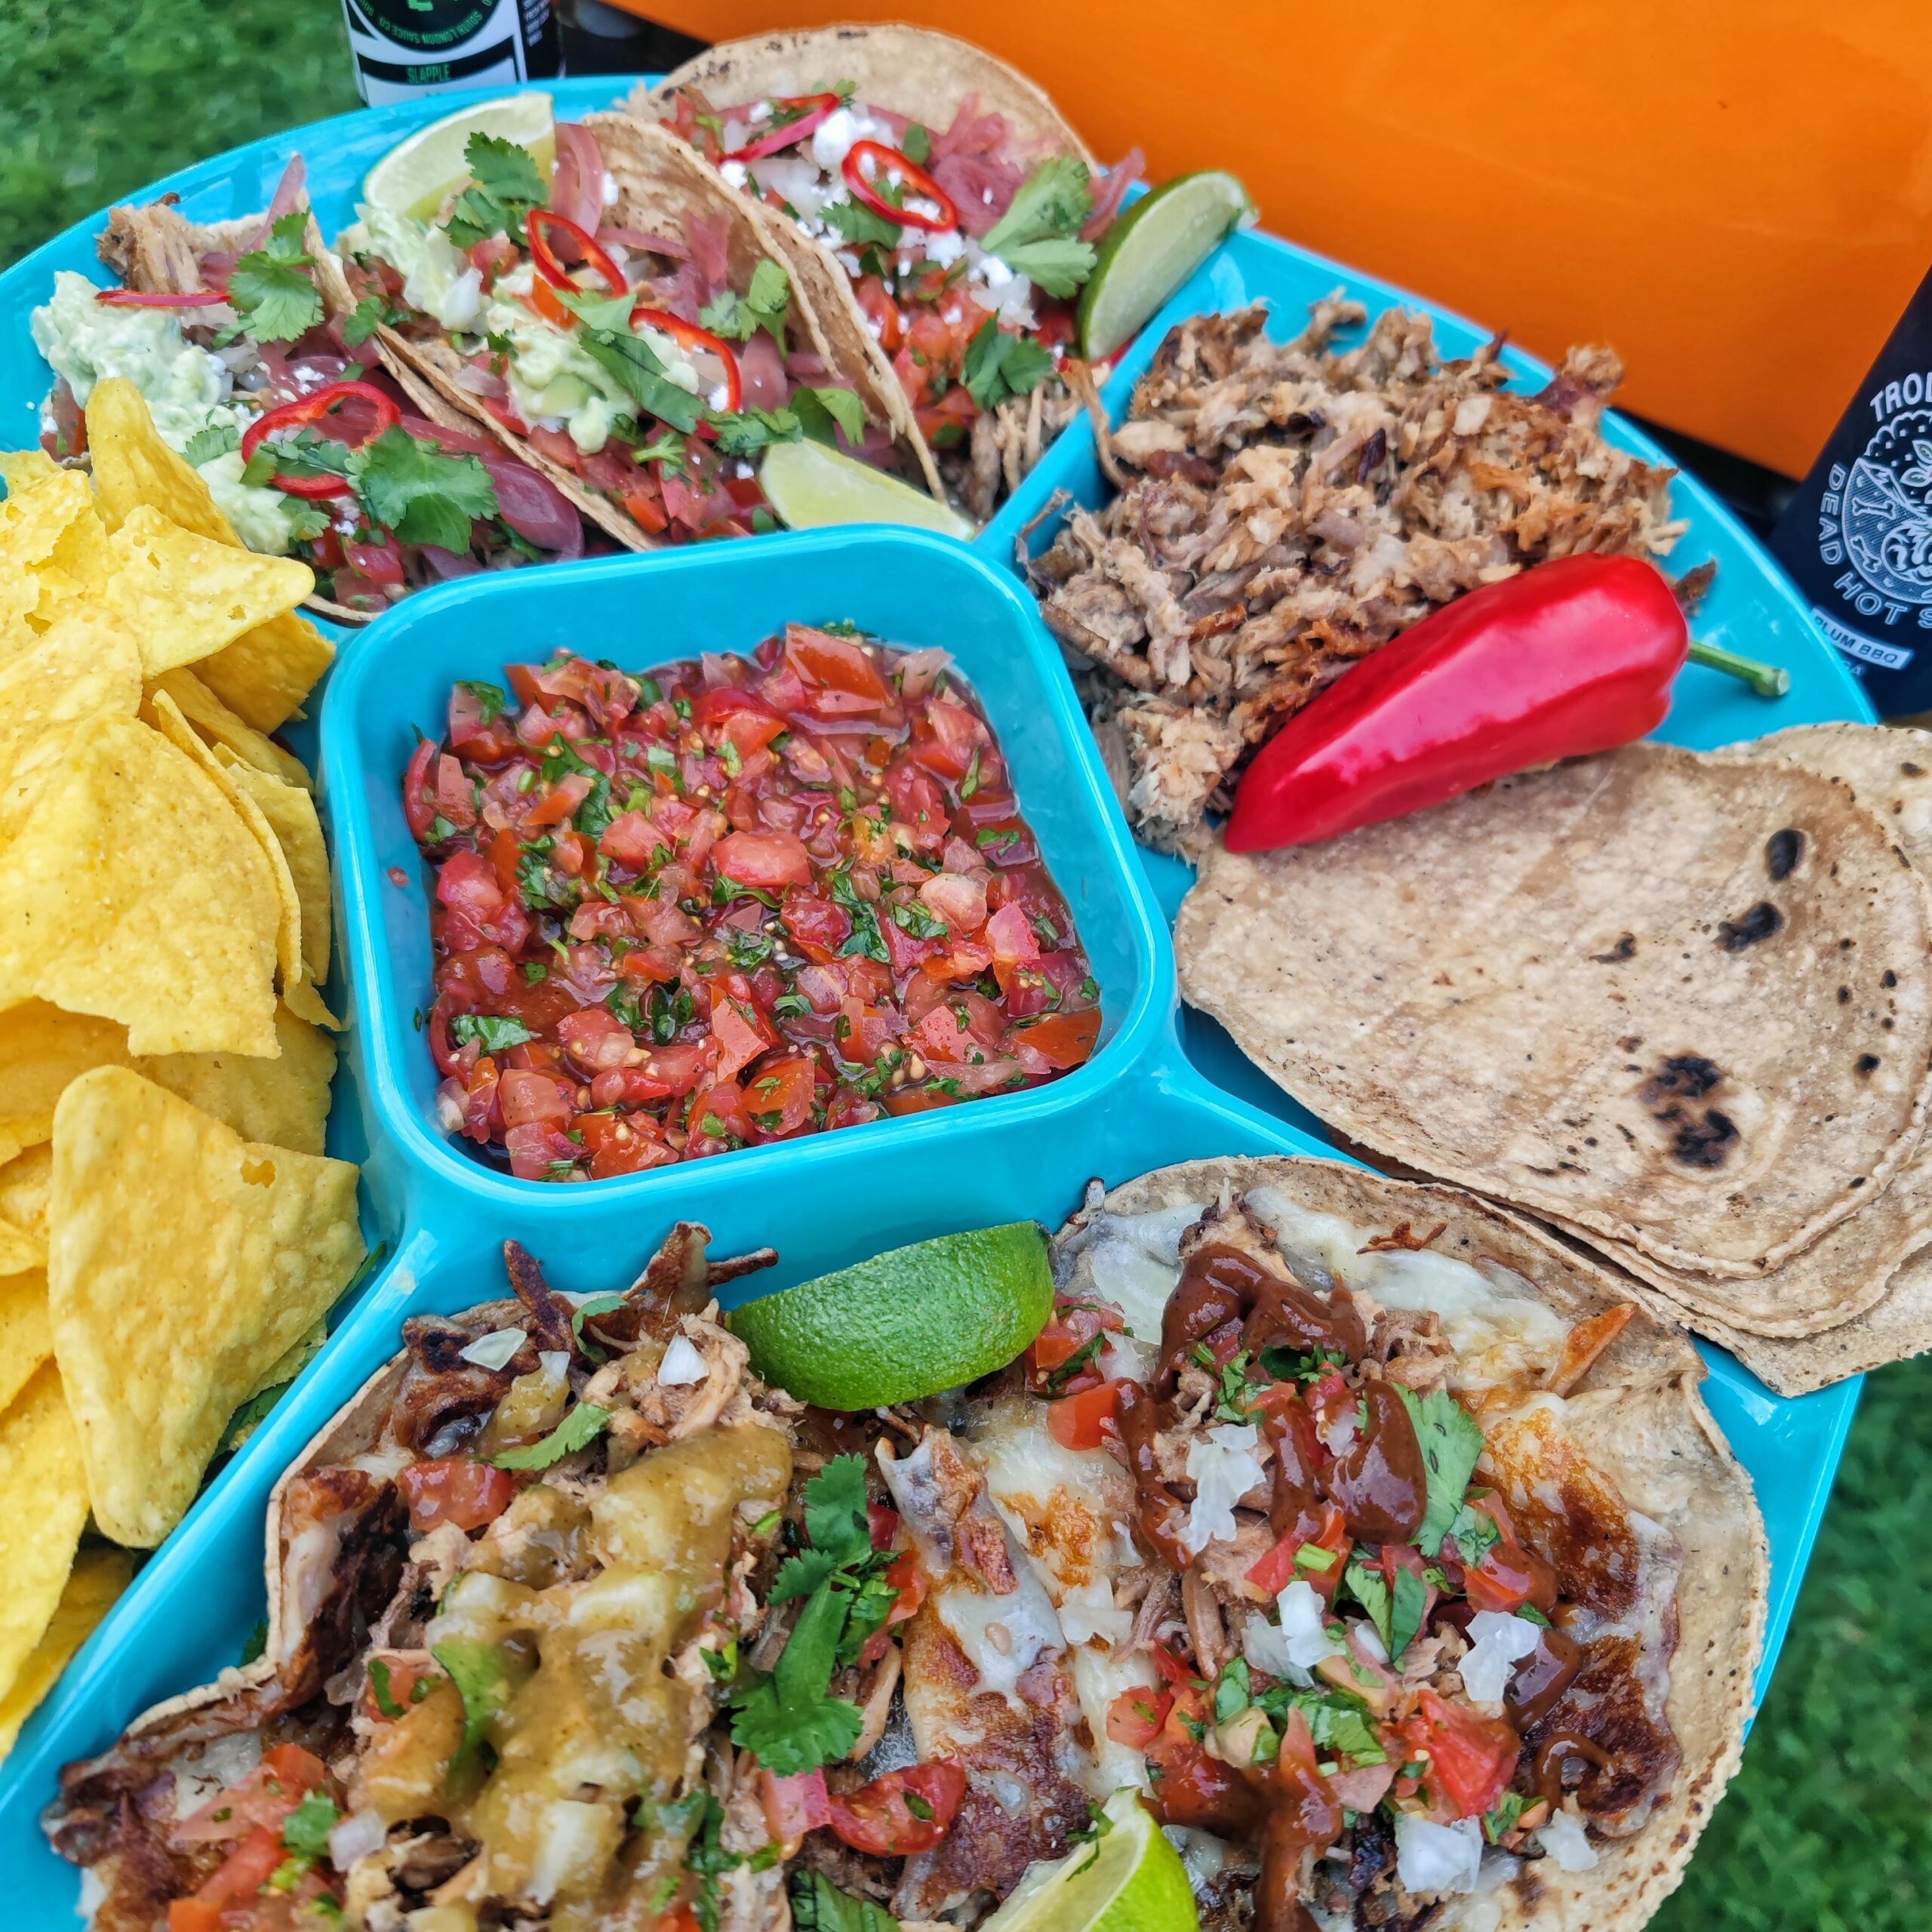
So that’s pretty much all you need to know. We’ve since cooked more burgers, some tacos, some shrimp skewers, all of which have just made me realise the place this style of grill has in many more people’s gardens. In all the cooks, the only real niggle I found was when the wind is blowing it can get under the cooktop to the blowers, but in fairness all of my cooks were out in the middle of the back lawn, whereas most would have them up against a wall or fence which would help. That’s just something small when you take into account they look good, they are well built, they are easy to use and extremely easy to clean down at the end of a cook versus a conventional grill. I can see people maybe having one alongside their existing kit, or planning to have one fitted as part of an outdoor kitchen or BBQ shack. Especially as they are so reasonably priced for the quality of the unit too. Let’s just say I hope this unit doesn’t go anywhere, as I can see it being used regularly here to create some delicious quick meals.
The units come with a great warranty of 20 years on the plates and burners, now that is a serious commitment to their quality, a 5 year guarantee on parts and a further 2 years on labour too. So you are in safe hands should any small issues appear.
Twitter – https://twitter.com/CookOutdoorUK


